Mastering Pumpkin Carving: Your Ultimate Guide To Spooky Fun
The Enduring Allure of Pumpkin Carving
There's something uniquely magical about the act of carving a pumpkin. It's a sensory experience, from the earthy smell of the pumpkin guts to the satisfying scrape of the scooper and the flickering glow of a candle within. This tradition, deeply rooted in folklore and history, has evolved from simple lanterns meant to ward off evil spirits to elaborate, personalized works of art. Pumpkin carving is one of the most fun activities for kids and family, offering a chance to collaborate, get a little messy, and create something memorable together. It’s a fantastic way to bond and make lasting memories as the Halloween season approaches.More Than Just a Tradition: A Creative Outlet
Beyond its historical significance, pumpkin carving serves as a fantastic creative outlet. It allows individuals and families to express their personalities, fears, and humor through a temporary, organic canvas. Whether you go sweet or scary, cute or funny, clever or traditional, each carved pumpkin tells a unique story. We've seen an explosion of creativity in recent years, moving beyond the simple triangle eyes to intricate scenes, pop culture references, and even personalized designs with initials or friendly monster faces. This artistic freedom is a major part of why pumpkin carving continues to captivate so many, providing a hands-on experience that digital entertainment often lacks.Getting Started: Essential Tools for Pumpkin Carving Success
Before you dive into the delightful mess of pumpkin guts, it's crucial to gather the right tools. While you can certainly start with basic kitchen knives, a dedicated pumpkin carving kit will make the process much safer, easier, and more enjoyable, especially for intricate designs. Here's a breakdown of essential tools: * **Sturdy Scoop:** Forget flimsy spoons. A strong, wide scoop with a serrated edge is your best friend for cleaning out the pumpkin's interior. This is key for thinning the walls, which makes carving easier and allows more light to shine through. * **Serrated Carving Knives:** Standard kitchen knives can be dangerous and difficult to maneuver. Pumpkin carving kits typically include small, serrated saws designed to cut through thick pumpkin flesh with precision and less effort. * **Detailing Tools:** For more intricate designs, you'll want smaller, finer tools. These can include: * **Small Saws:** For fine lines and tight corners. * **Poker/Awl:** To transfer patterns by poking holes along the design lines. * **Clay Sculpting Tools/Loop Tools:** Excellent for scraping away the outer layer of the pumpkin without cutting all the way through, creating a "skin deep" effect that adds dimension. * **Template/Pattern:** Whether you draw your own or use a pre-made one, a pattern is essential for guiding your cuts. * **Marker/Pen:** To trace your design onto the pumpkin. * **Bowl for Guts:** Keep your workspace tidy by having a designated bowl for seeds and stringy bits. * **Gloves (Optional):** If you dislike the feel of pumpkin guts, gloves can be a lifesaver. * **Paper Towels/Old Newspaper:** For easy cleanup.Beyond the Basics: Advanced Tools for Intricate Designs
For those looking to take their pumpkin carving to the next level, consider investing in some more specialized tools: * **Linoleum Cutters/Gouges:** These are fantastic for detailed "skin deep" carving, allowing you to create shaded effects by removing only the outer layer of the pumpkin, rather than cutting all the way through. * **Power Drills with Bits:** For creating perfectly round holes or patterns of dots. This can add a modern, almost constellation-like effect to your pumpkin. * **Dremel Tool:** A rotary tool like a Dremel can be used with various bits for sanding, grinding, and fine detail work, truly taking your pumpkin carving to the 21st century. However, these require a steady hand and practice. * **LED Lights:** While traditional candles are charming, LED pumpkin lights are safer, last longer, and offer various colors and flickering effects, making your masterpiece truly stand out.Choosing Your Perfect Pumpkin: The First Step to a Masterpiece
The success of your pumpkin carving project often begins with selecting the right pumpkin. It's not just about size; quality matters! Here's what to look for: * **Firmness:** Gently press on the pumpkin's skin. It should be firm and hard, with no soft spots, bruises, or mold. Soft spots indicate the pumpkin is already starting to rot, and your carving won't last long. * **Flat Bottom:** A pumpkin with a relatively flat bottom will be stable and less likely to roll around while you're carving or once it's displayed. * **Smooth Surface:** For intricate designs or stencils, a smooth, unblemished surface is ideal. If you're going for a more rustic or monstrous look, some bumps and imperfections can add character. * **Sturdy Stem:** A strong, green stem indicates a fresh pumpkin. Avoid pumpkins with broken or moldy stems, as this is often where rot begins. * **Size for Design:** Consider your design. A large pumpkin offers more canvas for elaborate scenes, while smaller pumpkins are great for simple faces or for kids to manage. Once you've chosen your pumpkin, give it a good wash with soap and water to remove any dirt or debris. A clean surface makes drawing and carving much easier.From Beginner to Pro: Mastering Pumpkin Carving Techniques
Regardless of your skill level, there are fundamental techniques that will elevate your pumpkin carving game. Get ready to learn how to carve pumpkins like a pro! 1. **Cut from the Bottom (or Back):** Instead of cutting the traditional lid from the top, try cutting a large hole from the bottom of the pumpkin. This keeps the top intact, preventing it from drying out and shriveling, and makes it easier to place over a light source. Alternatively, cut a hole from the back if you plan to display the pumpkin against a wall. 2. **Scrape the Walls Thin:** This is a crucial step often overlooked. After scooping out all the seeds and stringy bits, use your scoop or a sturdy spoon to scrape the inside walls of the pumpkin until they are about 1-inch thick. Thinner walls make carving significantly easier and allow your light source to shine brighter, making your design pop. 3. **Transfer Your Design:** * **Freehand:** If you're confident, draw your design directly onto the pumpkin with a marker. * **Stencil/Pattern:** Tape your printed pattern securely onto the pumpkin. Use a poker tool or a pushpin to poke small holes along the lines of your design, spacing them closely together (about 1/8 to 1/4 inch apart). Once all lines are transferred, remove the paper. You'll have a dotted outline to follow. 4. **Carve in Sections:** Don't try to carve everything at once. Start with the smallest, most intricate details first. If a piece breaks off, it's easier to fix or adjust if the larger, more stable parts are still intact. 5. **Use a Sawing Motion:** Instead of pushing the knife straight through, use a gentle sawing motion with your carving tool. This reduces the risk of the knife getting stuck or slipping. 6. **Angle Your Cuts:** For pieces that need to pop out cleanly, angle your knife slightly inwards towards the center of the design. This creates a wider opening on the inside, allowing the carved piece to fall out easily. 7. **Push Pieces Out from the Inside:** Once you've cut around a section, gently push the piece out from the inside of the pumpkin. Avoid pulling it from the outside, as this can tear the pumpkin flesh.The Professional's Edge: Techniques from the Experts
For those aspiring to truly advanced pumpkin carving, consider these insights: * **Layering and Shading:** Beyond simply cutting through, professional carvers often use techniques that involve removing only the outer layer of the pumpkin skin to create varying degrees of translucency. This "skin deep" carving allows for incredible shading and dimension. Tools like linoleum cutters or Dremels are perfect for this. This technique was developed by professional carvers and perfected by the Martha Stewart team, showcasing the amazing possibilities that can be achieved with the right tools and a few handy tricks. * **Backlighting Effects:** Experiment with different light sources. Multiple smaller lights can highlight specific areas, while colored LEDs can dramatically change the mood of your design. * **Stabilizing Your Pumpkin:** For very large or irregularly shaped pumpkins, consider placing them on a non-slip mat or even a small stand to prevent movement during carving.Unleashing Creativity: A World of Pumpkin Carving Ideas
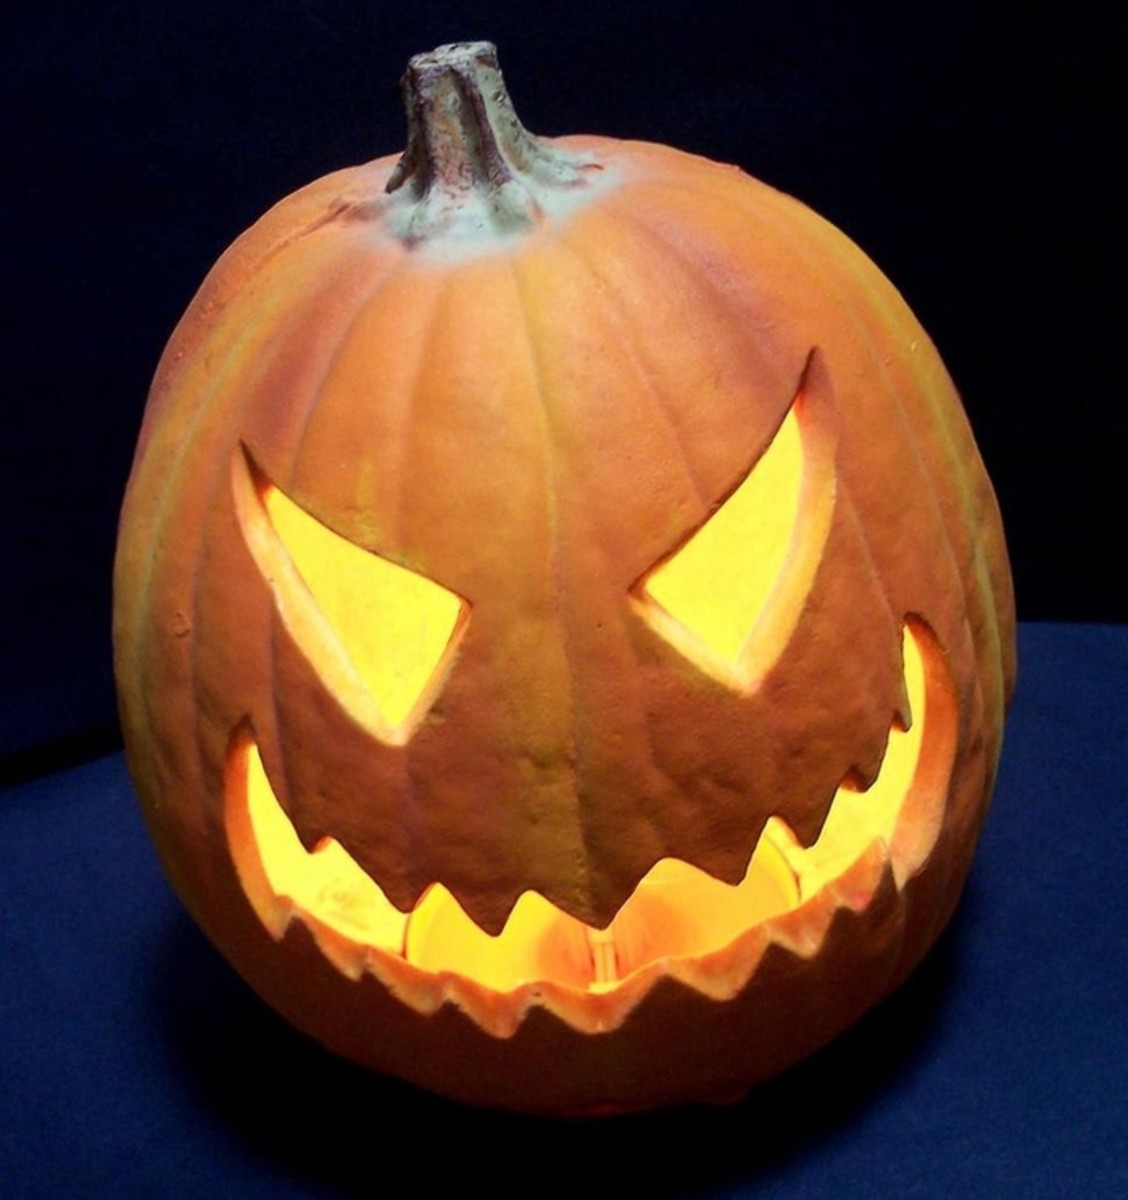
The beauty of pumpkin carving lies in its endless possibilities. Whether you're looking for something simple and sweet or truly terrifying, there's an idea for everyone. We found the best easy pumpkin carving ideas to get you and your front porch into the Halloween spirit. These easy pumpkin carving ideas are funny, cute, and creative—even scary! Here are some popular and inspiring pumpkin carving ideas: * **The Classic Jack-o'-Lantern:** You can't go wrong with the traditional triangle eyes, nose, and jagged teeth. It's a timeless symbol of Halloween. * **Cute Faces:** Think friendly monsters, winking eyes, or even cartoon characters. These are great to do with kids as it’s really easy to do with hardly any tools. Go crazy and create a whole cast of adorable pumpkin personalities. * **Spooky Silhouettes:** Instead of cutting out entire shapes, carve silhouettes of witches, bats, ghosts, or black cats. The negative space creates a dramatic effect when lit. * **Personalized Pumpkins:** Personalize with initials, a house number, or a simple welcoming message. * **Nature-Inspired Designs:** Carve leaves, vines, or even intricate floral patterns. * **Pop Culture Icons:** From movie monsters to beloved superheroes, carve your favorite characters. * **Funny Faces:** Give your pumpkin a goofy grin, cross-eyes, or a silly tongue sticking out. Humor is always a hit! * **Geometric Patterns:** Simple shapes like circles, squares, or abstract lines can create surprisingly modern and elegant designs. * **"Skin Deep" Carvings:** As mentioned, scrape away just the outer layer to create a glowing effect without cutting all the way through. This is perfect for detailed scenes, landscapes, or portraits. * **Candy Corn Slices:** Don't miss out on the whimsy of candy corn slices, or other food-inspired designs that add a playful touch. * **Animals:** Beyond cats, consider owls, spiders, or even more complex animal faces. Try our simple Halloween pumpkin ideas and get the kids involved with creating these fun designs. With 50 best easy pumpkin carving ideas & designs such as Jack-o'-lantern stencils, cute faces, Halloween cats, scary ghosts, DIY templates, etc., you'll never run out of inspiration.Free Patterns and Stencils: Your Treasure Trove of Inspiration
One of the best resources for pumpkin carving is the vast collection of free patterns and stencils available online. These templates make it incredibly easy to achieve professional-looking results, even if you're a beginner. * **The Pumpkin Lady:** As we celebrate our 26th year anniversary, we’re thrilled to share our treasure trove of nearly 1,000 free, original pumpkin carving patterns (also referred to as pumpkin carving stencils & pumpkin carving templates)—all lovingly crafted by the talented Lisa B., affectionately known as The Pumpkin Lady. Her site is a fantastic resource for everything from classic designs to unique, intricate patterns. * **General Online Resources:** Many websites offer free pumpkin carving patterns and stencils for ghosts, monsters, goblins, witches, dragons, and even Thanksgiving and Christmas themes. The web's best pumpkin carving patterns are all right here, and they're all free! All are beginner-friendly—some even include downloadable templates! * **100 Halloween Pumpkin Carving Stencils:** Get ready for some spooky fun with these 100 Halloween pumpkin carving stencils and patterns that are all free to download and print. These resources make it simple to find the perfect design for your skill level and desired aesthetic. Using these templates is simple: print them out, tape them to your pumpkin, and use a poker tool to transfer the design. Then, simply follow the dotted lines with your carving tools.Safety First: Carving Smart for Spooky Fun
While pumpkin carving is a joyous activity, it involves sharp tools. Prioritizing safety is paramount, especially when children are involved. Here are essential safety tips: * **Adult Supervision:** Children should always be supervised by an adult when carving. For younger children, adults should do all the cutting, allowing kids to handle the scooping, drawing, and decorating. * **Proper Tools:** Use dedicated pumpkin carving tools. They are designed to be safer and more effective than kitchen knives, which can easily slip. * **Steady Surface:** Carve on a clean, dry, and stable surface. A cutting board or newspaper spread out on a table works well. * **Cut Away from Yourself:** Always direct the carving tool away from your body. * **Steady the Pumpkin:** Hold the pumpkin firmly with one hand while carving with the other. If the pumpkin is large, consider placing it on a non-slip mat. * **Good Lighting:** Ensure your workspace is well-lit so you can clearly see your lines and cuts. * **No Roughhousing:** Keep the carving area calm and focused. * **Use LED Lights:** Opt for battery-operated LED lights or glow sticks instead of traditional candles, especially if children or pets are around, or if the pumpkin will be left unattended. This eliminates fire hazards. By following these simple safety guidelines, you can ensure that your pumpkin carving experience is fun and injury-free.Preserving Your Masterpiece: Making Your Carved Pumpkin Last
Unfortunately, carved pumpkins are organic and will eventually succumb to decay. However, you can extend the life of your masterpiece for several days, or even up to a week, with a few simple tricks. * **Clean Thoroughly:** After carving, remove any remaining pulp or stringy bits from the inside. The cleaner the interior, the slower the decay. * **Moisture is Key:** Pumpkins dry out quickly once carved. * **Petroleum Jelly:** Apply a thin layer of petroleum jelly (Vaseline) to all cut edges. This creates a barrier that locks in moisture and prevents dehydration. * **Vegetable Oil Spray:** Some carvers prefer to spray the entire pumpkin, inside and out, with a vegetable oil spray. * **Bleach Solution Bath:** For a more aggressive approach, you can submerge your carved pumpkin in a bucket of water mixed with a small amount of bleach (about 1 teaspoon of bleach per gallon of water) for a few hours. This kills bacteria and mold spores. After soaking, let it air dry completely before displaying. * **Hydrate Daily:** If your pumpkin starts to shrivel, you can revive it by misting it with water or giving it a brief soak in a tub of cold water for an hour or two. * **Keep it Cool:** Display your carved pumpkin in a cool, shaded area. Direct sunlight and warm temperatures will accelerate decomposition. Bring it indoors at night if temperatures drop significantly, or if it's particularly humid. * **Avoid Pests:** A light coating of bug spray (non-toxic, for outdoor use) can deter squirrels and other critters. By taking these steps, you can enjoy your spooky, cute, or funny creation for longer, adding an eerie element to your autumn aesthetic.Beyond the Carve: Creative Ways to Decorate Your Pumpkin
While carving is the star, there are many ways to enhance your pumpkin's look or even decorate it without carving at all. This is particularly great for very young children or for adding extra flair. * **Paint It:** Acrylic paints work wonderfully on pumpkins. You can paint faces, scenes, or even create abstract designs. Glow-in-the-dark paint adds an extra spooky touch. * **Glitter and Embellishments:** Use craft glue to add glitter, sequins, googly eyes, felt shapes, or yarn hair. * **Decoupage:** Apply tissue paper, fabric, or even leaves to the pumpkin's surface using decoupage glue. * **Accessories:** Dress up your pumpkin with hats, scarves, glasses, or even miniature costumes. * **Floral Accents:** Decorate a pumpkin with a band of your favorite flowers—the moisture from the pumpkin will keep the flowers fresh for about a day. For longer use, carve out a small section and insert a water tube or floral foam to keep the flowers hydrated. * **No-Carve Ideas:** For a quick and easy approach, consider using permanent markers, stickers, or even simply stacking pumpkins of different sizes to create a unique display. These methods are perfect for getting into the Halloween spirit with hardly any tools. Whether you tackle an elaborate design or put your own spin on a classic, you'll create pretty, playful—and sometimes spooky—scenes to add an eerie element to your autumn aesthetic.Conclusion: Your Pumpkin Carving Journey Awaits
Pumpkin carving is a cherished autumn tradition that offers a unique blend of creativity, family fun, and seasonal spirit. From selecting the perfect gourd to mastering the art of the cut and preserving your masterpiece, the journey of transforming a simple pumpkin into a glowing work of art is incredibly rewarding. We've explored essential tools, detailed carving techniques perfected by experts like the Martha Stewart team, and unveiled a treasure trove of ideas and free patterns from sources like The Pumpkin Lady, ensuring there's something for every skill level and every spooky (or sweet) vision. Remember, the goal is to have fun and express your creativity. Don't be afraid to experiment, make a mess, and enjoy the process. Whether you opt for a classic Jack-o'-lantern, a funny monster, or an intricate shaded design, your carved pumpkin will undoubtedly bring the Halloween spirit home this fall. So, gather your tools, pick your pumpkin, and get ready to create some unforgettable memories. What's your favorite pumpkin carving design? Share your spooky (or silly!) creations and tips in the comments below! We'd love to see what you come up with. And if you found this guide helpful, be sure to share it with your fellow Halloween enthusiasts and explore our other seasonal articles for more festive inspiration!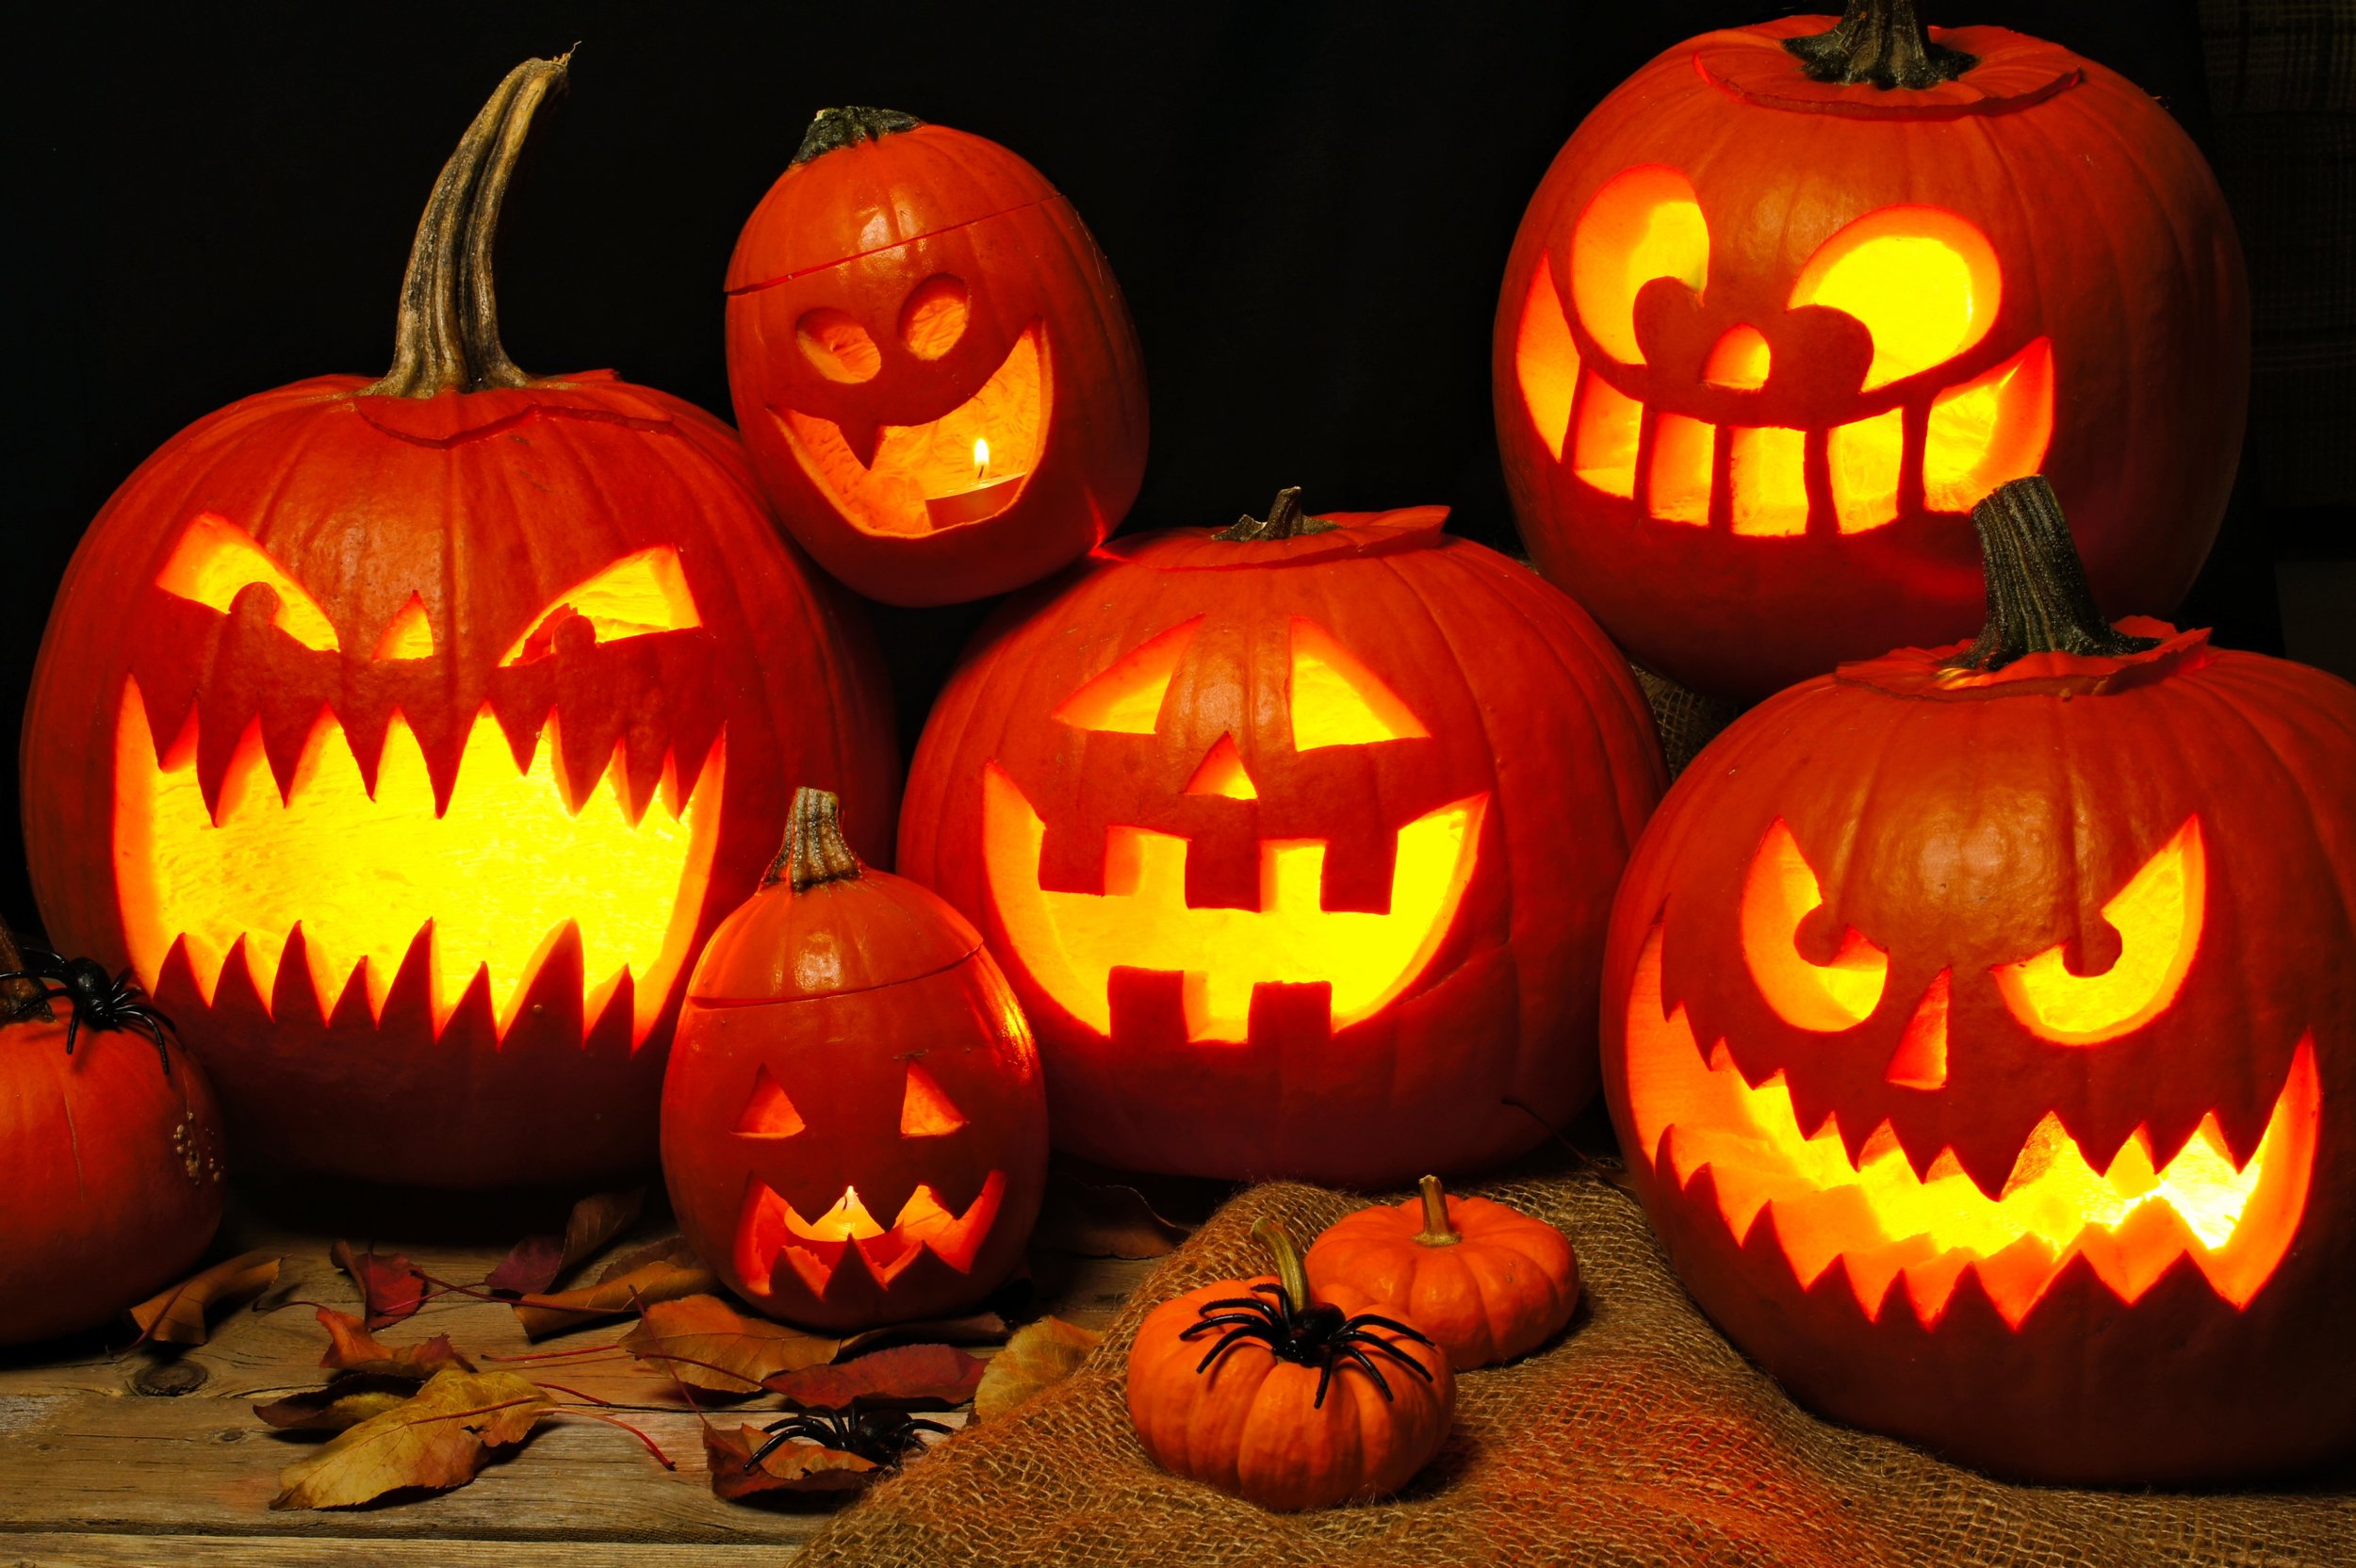
Halloween Pumpkin Carving Ideas - Home Made with Aaron's

Easy Pumpkin Carving Patterns Printable
Pumpkin Carving Ideas and Patterns for Halloween | HubPages
