DIY Citronella Oil: Craft Your Own Natural Bug Repellent Today
There's a real joy, you know, in creating things with your own hands, especially when it comes to home projects. Many people, it seems, are looking for ways to handle things around the house without always buying something from a store. This whole idea of "do it yourself" is very popular, and for good reason. It lets you take charge, learn new skills, and sometimes, it just feels better to use something you've made yourself. Today, we're going to talk about making your own citronella oil, a rather useful thing to have around, especially when those pesky flying insects decide to visit.
Making your own citronella oil, it turns out, is not as hard as you might think. It's a project that, basically, aligns with that spirit of self-sufficiency. Think about it: you get to control what goes into your product, avoid things you don't want, and save a little money too. Plus, there's a certain satisfaction that comes from using something you crafted. So, if you're someone who likes to tinker, or just wants a natural way to keep bugs at bay, this could be a really good fit for you.
We'll walk through the process, providing all the details you'll need. You'll see that, in a way, it's pretty straightforward once you have the right information. This guide is here to help you understand everything, from gathering your materials to actually making the oil, and then using it effectively. It's about empowering you to create a natural solution for your home, and that, is that, a pretty neat idea.
- Melvin Nunnery Net Worth
- Alycia Debnam Carey Fappening
- Momos Bar Portland
- Airbnb Interior Design Services
- Valley Wings Flint Burton Photos
Table of Contents
- Why Make Your Own Citronella Oil?
- Understanding Citronella: What Is It, Really?
- Gathering Your Supplies: What You'll Need
- The Step-by-Step Process for Making Citronella Oil
- Safe Handling and Storage Tips
- Creative Ways to Use Your Homemade Citronella Oil
- Common Questions About DIY Citronella Oil
- Final Thoughts
Why Make Your Own Citronella Oil?
There are several good reasons, honestly, to consider making your own citronella oil instead of just picking it up at the store. For one thing, you get to skip a lot of the unknown stuff that might be in commercial products. When you make it yourself, you know exactly what ingredients are going into it, which can be a big comfort for many people. This is particularly true if you have sensitivities or just prefer a more natural approach to things around your living space.
Another big plus is the cost. Store-bought essential oils, especially good quality ones, can be quite pricey. By making your own, you're essentially cutting out the middleman and using materials that are often less expensive when purchased in their raw form. This can add up to some nice savings over time, especially if you use citronella oil a lot, which many people do during warmer months.
Then there's the satisfaction, you know, of a job well done. It's similar to how people feel when they tackle home improvement projects or even make their own inground pool covers, as mentioned in "My text." There's a sense of accomplishment that comes from creating something useful and effective with your own two hands. It's a practical skill, and it's also a bit of a fun experiment, really, for anyone who enjoys a hands-on activity. Plus, you get to brag a little about your homemade bug solution, which is always nice.
Understanding Citronella: What Is It, Really?
Citronella is, basically, a type of grass, specifically from the Cymbopogon genus. It's a fragrant plant, and its oil is quite well-known for its ability to keep insects away. This isn't just an old wives' tale; the active compounds in citronella, like citronellal, geraniol, and citronellol, are what give it those repellent properties. These compounds, apparently, confuse insects, making it harder for them to find their targets, like us humans.
The plant itself looks a bit like lemongrass, and it thrives in warmer climates. For centuries, people in various parts of the world have used citronella for its aromatic qualities and, of course, its bug-deterring abilities. It's a natural solution, which is why it's so appealing to those looking for alternatives to synthetic chemicals. So, when you're making your own oil, you're tapping into a long history of natural wisdom, in a way.
It's important to remember that while it's natural, the oil is still quite concentrated. Just like with any powerful plant extract, you need to handle it with care. We'll get into the safety aspects later, but for now, just know that citronella is a plant-based powerhouse, and that's why it's the star of our DIY project. It's pretty effective, you know, when used correctly.
Gathering Your Supplies: What You'll Need
Before you get started, it's a good idea to gather all your materials. This makes the whole process smoother and much less frustrating. Think of it like getting all your tools ready before you start a home repair or a big kitchen remodeling project, as mentioned on doityourself.com. Having everything laid out means you won't have to stop halfway through to find something you forgot. It's just a little planning that goes a long way, really.
Key Ingredients
The main ingredient, of course, is the citronella plant itself. You'll want fresh leaves and stems for the best results. If you don't grow it yourself, you might find it at a local nursery or even some specialty grocery stores. The fresher, the better, honestly, for extracting those potent oils. You'll need a good amount, so plan accordingly.
Next, you'll need a carrier oil. This is important because pure essential oils are very concentrated and need to be diluted for safe use. Common carrier oils include olive oil, almond oil, jojoba oil, or even a simple vegetable oil. The choice of carrier oil can affect the final scent and how it feels on your skin, so you might pick one based on your preference. Coconut oil is also a popular choice, and it's pretty versatile.
Finally, you'll need some clean, filtered water. This is used in some extraction methods and helps with the process. Make sure it's good quality water, not just straight from the tap, if your tap water has a lot of minerals or chlorine. A little attention to detail here can really make a difference in your final product, you know.
Essential Tools
For the tools, you'll need a large pot with a lid, preferably one that's non-reactive, like stainless steel. This will be used for the extraction process. You'll also need a heat source, such as your stove. A good sharp knife or kitchen shears will be useful for chopping the citronella plant material into smaller pieces. Smaller pieces, by the way, help release more of the oil.
You'll also need a fine-mesh strainer or cheesecloth for separating the plant material from the oil. This step is pretty important for getting a clean, usable oil. Some glass jars with tight-fitting lids are essential for storing your finished citronella oil. Dark glass jars are usually best, as they help protect the oil from light degradation, which can make it lose its potency over time. So, that's just something to keep in mind.
A measuring cup and spoons will also come in handy for accurate proportions, especially if you're trying a specific recipe. A funnel can make transferring the oil into storage jars much cleaner and easier, preventing spills. Having all these tools ready, you know, makes the whole process feel much more organized and less like a messy chore. It's almost like setting up for an electronics DIY project, where every tool has its place.
The Step-by-Step Process for Making Citronella Oil
Making citronella oil at home can be done using a couple of different methods, but the most accessible for a DIY enthusiast is often a simple infusion or a gentle steam distillation. We'll focus on methods that don't require specialized, expensive equipment, making it something you can really do in your own kitchen. It's pretty cool, actually, how you can extract these natural essences with basic household items.
Preparation Steps
First things first, you need to prepare your citronella plant material. Take your fresh citronella leaves and stems and give them a good rinse under cool water to remove any dirt or bugs. After rinsing, pat them dry gently with a clean cloth. Any excess water, you know, can affect the oil's quality, so getting them as dry as possible is a good idea.
Once clean and dry, chop the citronella into small pieces. The smaller the pieces, the more surface area there is for the oil to be released during the extraction process. Think about it: tiny bits mean more places for the good stuff to come out. This step is pretty simple but quite important for getting a potent oil. So, just take your time here and chop it up nicely.
You'll want to have a generous amount of chopped citronella. For a good yield of oil, more plant material is usually better. It's a bit like making a strong cup of tea; the more tea leaves, the stronger the brew. So, don't be shy with the plant matter, you know, as you prepare it for the next step.
Extraction Methods
One common DIY method is the slow infusion method. For this, place your chopped citronella into a clean glass jar. Then, pour your chosen carrier oil over the plant material, making sure it's completely submerged. You want the oil to cover everything, really, so all the plant bits are soaking.
Seal the jar tightly and place it in a sunny spot, like a windowsill. Let it infuse for at least two to four weeks, shaking the jar gently every day or so. This slow process allows the natural compounds from the citronella to gradually transfer into the carrier oil. It's a bit of a waiting game, but the sun's warmth helps the process along. This method is pretty hands-off, which is nice, you know, for busy schedules.
Another approach, if you're a bit more adventurous, is a gentle heat extraction. In a double boiler or a heat-safe bowl set over a pot of simmering water, combine your chopped citronella and carrier oil. Heat it gently for several hours, making sure the water in the bottom pot doesn't boil dry. The low, consistent heat helps to release the essential oils into the carrier oil without burning the plant material. This method can speed things up a little compared to the sun infusion, but it does require more direct supervision. It's almost like a slow cook, you know, for your oil.
Refining Your Oil
Once your chosen extraction period is complete, it's time to separate the oil from the plant material. Place a fine-mesh strainer or several layers of cheesecloth over a clean bowl or another glass jar. Pour the oil and plant mixture through the strainer, allowing the oil to drip into the container below. You might need to gently press the plant material to extract as much oil as possible. This step is crucial for a clean, usable oil.
You might notice some small bits of plant material still in the oil. For a clearer product, you can strain it a second time through an even finer mesh or more layers of cheesecloth. This extra step, you know, makes for a much nicer final product. It's about getting rid of all the little impurities.
Finally, transfer your freshly made citronella oil into dark glass bottles with tight-fitting lids. Label them with the date you made the oil. This helps you keep track of its freshness. Your homemade citronella oil is now ready for use, and it's pretty satisfying, you know, to see the finished product.
Safe Handling and Storage Tips
Even though it's natural, homemade citronella oil is still a concentrated product, so handling it safely is important. Always do a small patch test on a discreet area of skin before applying it widely, especially if you plan to use it as a personal repellent. Some people, you know, can be sensitive to essential oils, even natural ones. If irritation occurs, wash the area with soap and water and discontinue use.
Keep your homemade citronella oil out of reach of children and pets. While it's great for keeping bugs away, it's not meant for internal consumption. Store it in those dark glass bottles we talked about earlier, in a cool, dark place away from direct sunlight and heat. Exposure to light and heat can degrade the oil over time, making it less effective. A cupboard or pantry is usually a good spot for storage, you know.
Proper storage can help your oil maintain its potency for several months, perhaps even up to a year, depending on the carrier oil used and how well it's stored. If you notice a change in scent or appearance, it might be time to make a fresh batch. It's pretty straightforward, really, to keep it in good shape for a while.
Creative Ways to Use Your Homemade Citronella Oil
Now that you've got your very own homemade citronella oil, you might be wondering what to do with it. Its primary use, of course, is as a natural insect repellent. You can dilute it further with a bit more carrier oil and apply a small amount to exposed skin when you're outdoors. This is a pretty popular way to use it, especially during evening gatherings.
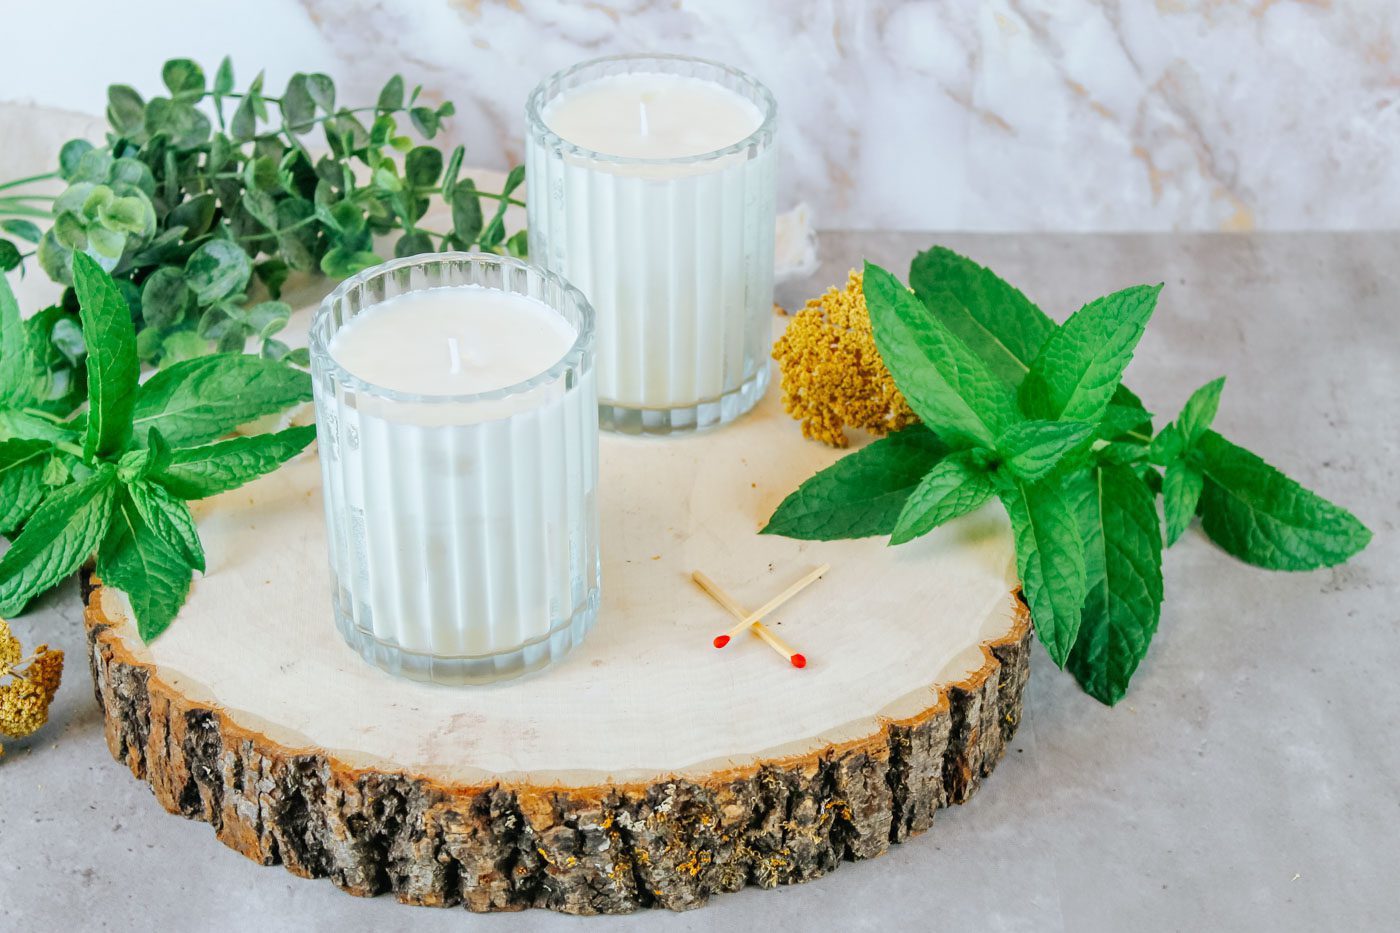
You can also use it to make DIY citronella candles. Just add a few drops of your oil to melted wax when making candles. The scent released as the candle burns will help keep flying insects away from your patio or deck. It's a lovely way, you know, to create a pleasant ambiance while also serving a practical purpose. This is a classic use for citronella, after all.
Another idea is to create a room spray. Mix a few drops of your citronella oil with water and a tiny bit of witch hazel or rubbing alcohol in a spray bottle. You can then mist this around your outdoor seating areas or even lightly indoors to deter bugs. It's a simple way to disperse the scent without direct skin application. You could even put a few drops on cotton balls and place them in strategic spots around your home, like near windows or doorways. It's pretty versatile, you know, what you can do with it.
For a truly human-centric approach, consider making a personalized bug balm. Combine your citronella oil with beeswax and a little extra carrier oil to create a solid balm that you can rub onto your skin. This can be very convenient for travel or for kids. The possibilities, it seems, are nearly endless once you have your own supply of this useful oil. Learn more about home improvement projects on our site, and link to this page here.
Common Questions About DIY Citronella Oil
Can I use dried citronella leaves to make the oil?
While fresh leaves are generally preferred for their higher oil content, you can, you know, use dried citronella leaves. The resulting oil might be a bit less potent, so you might need to use more dried material or infuse it for a longer period to get a good strength. It's still worth trying if fresh leaves are hard to find. Basically, it's about maximizing the extraction of those good compounds.
How long does homemade citronella oil last?
The lifespan of your homemade citronella oil really depends on how it's stored and the type of carrier oil you used. Typically, when stored in dark, airtight bottles in a cool, dark place, it can last anywhere from six months to a year. If you notice the scent fading or any strange changes, it's probably time to make a fresh batch. It's pretty simple to tell, you know, when it's past its prime.
Is homemade citronella oil safe for pets?
While citronella is generally considered safe for humans when diluted, it's a different story for pets, especially cats and dogs. Essential oils can be quite toxic to animals if ingested or absorbed through their skin. It's best to keep your homemade citronella oil away from pets and avoid using it directly on them or in areas where they might lick it. Always consult with a veterinarian if you have concerns about using essential oils around your furry friends. So, just be careful with your animal companions, you know.
Final Thoughts
Making your own citronella oil is a truly rewarding project, offering a natural and effective way to manage insects around your home and garden. It's a practical skill that connects you with the essence of DIY, providing a sense of accomplishment and control over the products you use. You're basically creating a little bit of natural magic, and it's pretty cool.
So, gather your supplies, follow these steps, and enjoy the benefits of your homemade creation. It's a simple yet powerful way to embrace a more natural lifestyle, and that, you know, is something to feel good about.
- Global Views Furniture
- Ecole Privee Nightclub
- Main Street High Photos
- Super Mrkt Los Angeles
- Club Level 4

DIY Citronella Candles, Mosquito Repellent - Savvy Homemade
DIY Citronella Candle - WholeMade Homestead
DIY Citronella Candles
