Oven Bake Clay Magnets: Crafting Little Bits Of Joy For Your Home
Imagine your fridge door, or maybe a metal board in your craft space, just waiting for a splash of personality. That's where oven bake clay magnets come into play, offering a truly delightful way to add color and charm to everyday spots. These little creations are not just simple decorations; they're tiny pieces of art you can make yourself, perfect for holding up photos, notes, or even a child's latest masterpiece. So, if you're looking for a fun, hands-on project that brings a lot of smiles, making your own oven bake clay magnets could be just the thing for you, it's almost like magic how they come together.
People often love to make things with their hands, and there's something really special about creating something useful and pretty at the same time. Oven bake clay, sometimes called polymer clay, is a wonderful material for this kind of project. It's soft and easy to shape when you're working with it, but then it gets strong and durable once you put it in the oven. This means your little magnet friends will last a good long while, holding tight to whatever you need them to.
Whether you're a seasoned crafter or just starting out, getting into oven bake clay magnets is a very rewarding experience. It's a project that lets your imagination run wild, allowing for all sorts of shapes, colors, and designs. You can make them for yourself, or perhaps give them as thoughtful, handmade gifts. It's a way, too, to bring a bit of your own unique style into your living space, or to give a personal touch to a friend's home.
Table of Contents
- What Are Oven Bake Clay Magnets?
- Why Make Your Own?
- Getting Started: Your Clay Magnet Toolkit
- Shaping and Designing Your Magnets
- The Baking Process: Getting It Right
- Attaching the Magnets and Sealing
- Creative Ideas for Your Clay Magnets
- Troubleshooting Common Clay Magnet Questions
- Frequently Asked Questions
- Bring Your Ideas to Life
What Are Oven Bake Clay Magnets?
Oven bake clay magnets are small, decorative items made from a special kind of clay that hardens when baked in a regular kitchen oven. Once they're cool, a small magnet is glued to the back. This makes them perfect for sticking to metal surfaces, like your refrigerator door, a locker, or even a magnetic whiteboard. They're a charming way to hold up important notes or just add a bit of cheer to a space, too.
Unlike air-dry clay, which hardens by simply sitting out, oven bake clay needs heat to cure properly. This baking process makes the clay very strong and durable, so your magnets can last for many years. You can find this clay in many different colors, which means the design possibilities are pretty much endless, really.
Why Make Your Own?
Making your own oven bake clay magnets offers a lot of good things. For one, it's a wonderfully creative outlet. You get to pick the colors, shapes, and designs, making each magnet truly one of a kind. This means you can match them to your home decor, or make them reflect your personality, which is quite nice.
Another great reason is that they make truly thoughtful gifts. A handmade magnet, perhaps shaped like a favorite animal or a tiny food item, shows you put time and care into it. This can be much more special than something bought from a store, in a way. Plus, it's a fun activity to do with kids, too, fostering their artistic side and giving them a tangible item they made themselves.
Getting Started: Your Clay Magnet Toolkit
Before you begin shaping your tiny works of art, gathering the right supplies is a good first step. Having everything ready makes the whole process smoother and more enjoyable. It's a bit like getting your ingredients ready before you start baking a cake, you know.
Choosing Your Clay
When it comes to the clay itself, you'll want to pick oven bake polymer clay. Brands like Sculpey, Fimo, and Premo are very popular and easy to find at craft stores. These clays come in a huge range of colors, which is rather exciting. Some even have special effects, like glitter or glow-in-the-dark properties.
The key is to choose a clay that's fresh and easy to condition. Conditioning means warming and kneading the clay until it's soft and workable, so it doesn't crack when you shape it. A good quality clay will usually feel a bit pliable right out of the package, or at least soften up quickly with a little warmth from your hands.
Magnet Types
For the magnets, small ceramic or neodymium magnets work best. Ceramic magnets are often black and a bit thicker, while neodymium magnets are silver-colored and much stronger for their size. You'll want to pick a size that fits the back of your clay creations without sticking out too much. Small disc magnets, perhaps 1/2 inch or 1 inch across, are typically a good choice.
You can usually buy these magnets in bulk online or at craft and hardware stores. Having a good supply means you won't run out in the middle of a project, which is always a good thing.
Tools You'll Need
You don't need a lot of fancy tools to get started, which is pretty nice. Here's a basic list:
- A clean work surface: A ceramic tile, glass cutting board, or even a piece of parchment paper on your table works well.
- A rolling pin: A small acrylic rolling pin or even a smooth glass bottle can help flatten your clay.
- Craft knife or clay tools: For cutting shapes and adding details. Plastic clay tools are great for beginners.
- Toothpicks or needles: Useful for making small holes, textures, or picking up tiny pieces.
- Oven-safe baking surface: A baking sheet lined with parchment paper or foil.
- Strong adhesive: Super glue or E6000 glue works very well for attaching the magnets.
- Optional: Cookie cutters, silicone molds, acrylic paints, clear glaze or varnish.
Shaping and Designing Your Magnets
This is where the fun really begins! Shaping your clay is a chance to let your imagination soar. There are so many things you can make, from simple shapes to more detailed little scenes.
Simple Shapes and Ideas
Start with simple shapes if you're new to this. You can roll out your clay and use small cookie cutters to make stars, hearts, circles, or squares. Little animals like cats, dogs, or birds are also very popular and relatively easy to form. You could even make tiny versions of your favorite fruits or vegetables, which is a cute idea.
Think about things that make you happy. Maybe a tiny coffee cup, a little book, or a small flower. Even abstract shapes with interesting textures can be quite striking. Remember, practice makes things easier, so don't worry if your first few aren't perfect, you know.
Adding Details and Colors
Once you have your basic shape, you can add details. Use a toothpick to make small dots for eyes, or lines for texture. You can also mix different colors of clay together to create swirls or marbled effects. For instance, combining a bit of white with a primary color can give you a lighter shade, sort of like painting.
After baking, you can also use acrylic paints to add more intricate details or color in specific areas. Once the paint is dry, a clear glaze or varnish can give your magnets a nice shine and protect them from wear and tear. This step makes them look very finished and professional, too.
The Baking Process: Getting It Right
Baking your clay is a really important step. It's what turns your soft, pliable creations into hard, lasting magnets. Following the clay manufacturer's instructions for temperature and time is very, very important for the best results.
Oven Prep and Temperature
Always preheat your oven to the temperature recommended on your clay package. This is typically around 275°F (130°C) to 300°F (150°C). Using an oven thermometer can help ensure your oven is at the correct temperature, as some ovens can run a bit hot or cold. Place your clay pieces on a baking sheet lined with parchment paper or foil. This keeps them from sticking and helps distribute the heat evenly, too.
Baking times vary depending on the thickness of your clay pieces, usually from 15 to 30 minutes for smaller items. Thicker pieces will need more time. Do not try to speed up the process by using a higher temperature, as this can burn the clay and make it brittle. Patience is key here, you know.
Understanding Your Oven
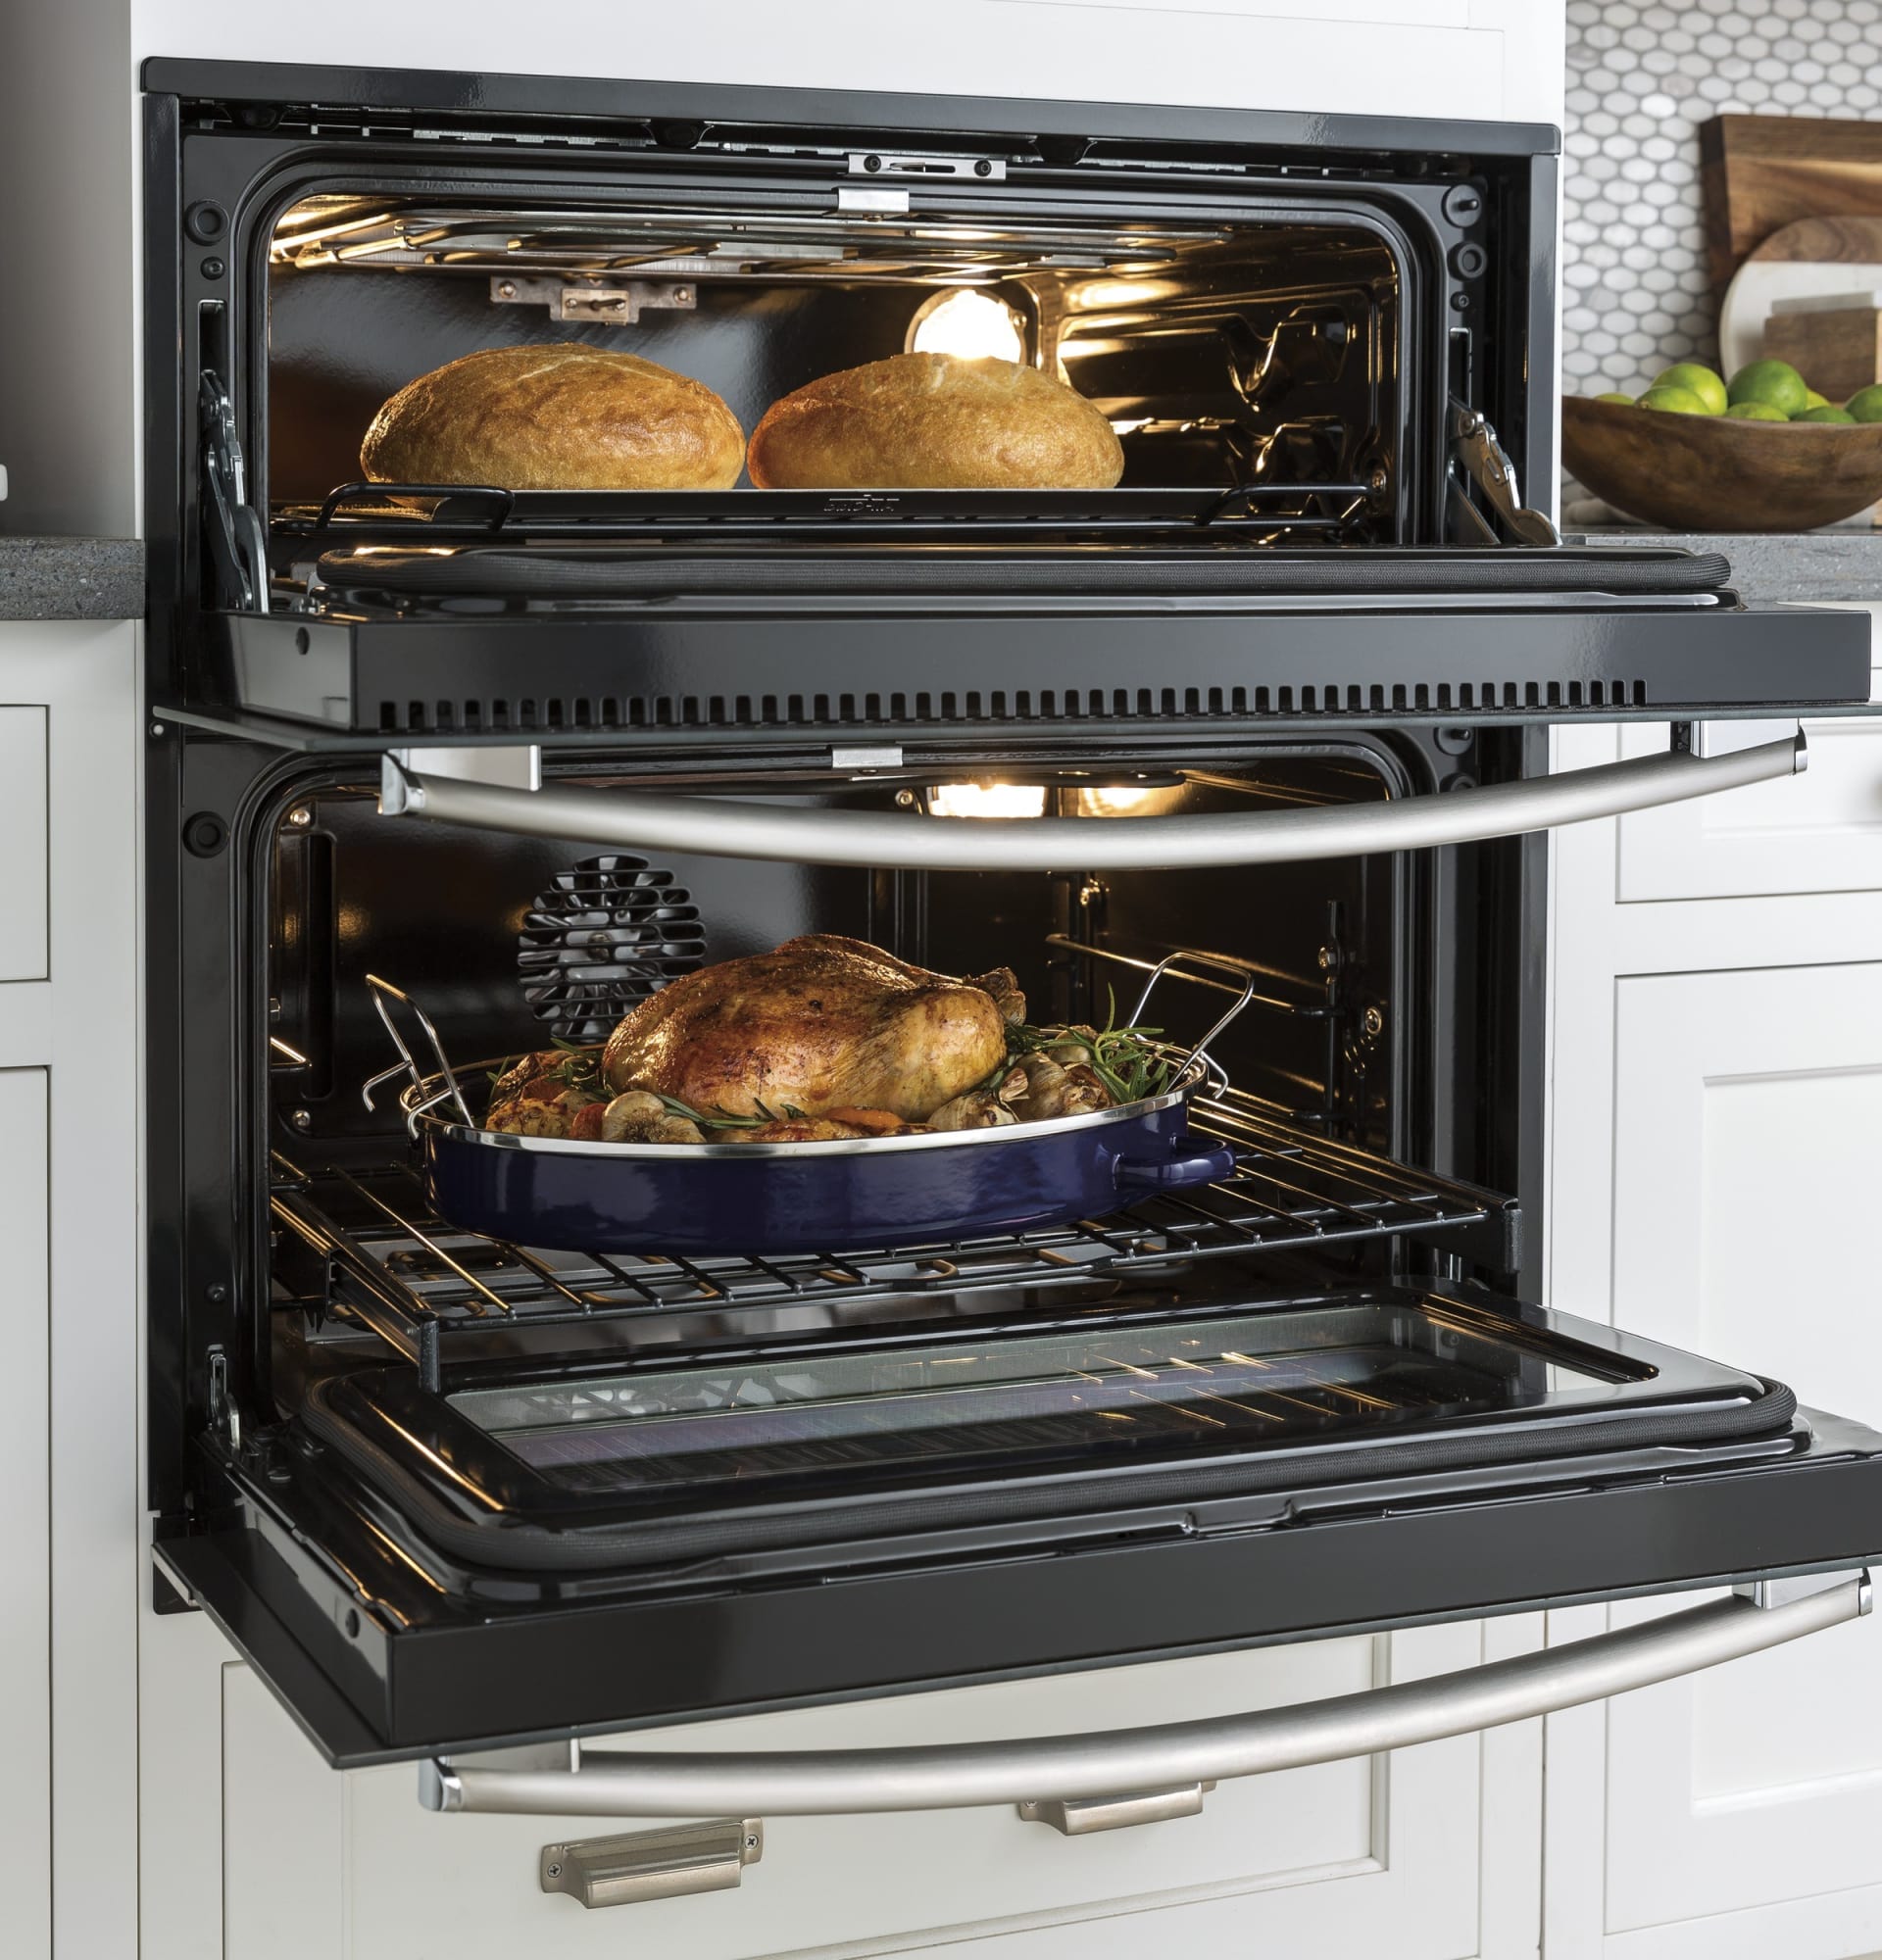
Just like when you're preparing a meal, knowing your oven is quite useful for baking clay. My text talks about how ovens, whether they are a single wall oven, a double wall oven, or part of a range that combines an oven with a cooktop, all have their own quirks. Some ovens, like those with a convection setting, might cook a bit differently. If your appliance is one of those from brands like GE, Bosch, Whirlpool®, KitchenAid, or LG, you'll want to make sure you're using the right settings for even heat.
Ovens can be heated by gas or electricity, and some even have special coating options, like ceramic. These differences can affect how evenly heat spreads. So, just as you'd learn what to look for to select the best oven for your cooking needs, understanding how your specific oven heats up and maintains temperature is really helpful for getting your clay magnets just right. Some models even have a connected app, which might help you monitor the temperature, too.
Cooling and Finishing
Once the baking time is up, carefully remove the baking sheet from the oven. Let your clay pieces cool completely before you handle them too much. They will still be a bit soft when hot, but they will harden as they cool down. This cooling process is very important for the clay to reach its full strength.
Once cool, you can gently sand any rough edges with fine-grit sandpaper if needed. Then, you can apply any paints or glazes you want to use. Make sure any paint is fully dry before moving on to the next step, you know.
Attaching the Magnets and Sealing
This is the final step to turn your baked clay creations into actual magnets! You'll need a strong glue for this.
Apply a small dot of super glue or E6000 glue to the back of your cooled clay piece, where you want the magnet to sit. Then, firmly press the magnet onto the glue. Hold it in place for a few seconds to ensure good contact. It's usually a good idea to let the glue cure for several hours, or even overnight, before you use the magnets, just to be sure they're really secure.
If you've painted your magnets or want to give them extra protection and a nice finish, apply a clear glaze or varnish designed for polymer clay. This will make them more durable and give them a lovely shine. Just follow the product's instructions for application and drying times.
Creative Ideas for Your Clay Magnets
The possibilities for oven bake clay magnets are honestly quite vast. You could make a set of alphabet letters for a child's learning space. Or perhaps tiny food items like miniature pizzas, donuts, or sushi pieces for a playful kitchen theme.
For a more sophisticated look, try making small geometric shapes in different colors, or create little landscapes with tiny trees and mountains. You could even make personalized magnets with initials or small portraits. Consider making seasonal magnets for holidays, like little pumpkins for fall or snowmen for winter, too.
Another idea is to create themed sets. Maybe a garden theme with tiny flowers, leaves, and ladybugs. Or a space theme with planets, stars, and rockets. These sets make really wonderful gifts, and they're fun to collect, too. You could even make tiny versions of your family members or pets, which is a rather sweet thought.
Troubleshooting Common Clay Magnet Questions
Sometimes, things don't go exactly as planned, and that's totally okay. Here are a few common issues people might run into when making oven bake clay magnets, and some ways to sort them out.
If your clay feels too hard to work with, it might be a bit old or just needs more conditioning. Try warming it in your hands for a few minutes, or even placing it near a warm (but not hot!) spot, like a sunny window. Kneading it consistently will usually soften it up, which is pretty helpful.
If your magnets break after baking, it could be due to under-baking or baking at too low a temperature. Make sure your oven is accurately preheated and you're baking for the full recommended time. Thin pieces can also be more fragile, so consider making them a bit thicker. If they feel brittle, it might mean they were baked too hot, so check your oven's temperature again, perhaps with an oven thermometer.
Sometimes, the magnet won't stick properly. This usually means the glue isn't strong enough or wasn't allowed enough time to cure. Make sure you're using a strong adhesive like super glue or E6000, and give it plenty of time to set before putting your magnets to use. Cleaning the back of the clay piece before gluing can also help create a better bond, too.
Frequently Asked Questions
Is oven bake clay waterproof?
Once baked and cured, oven bake clay is generally water-resistant, but it's not fully waterproof. It can handle splashes, but it's not meant to be submerged in water for long periods. If you want extra protection, applying a clear glaze can help, too.
How do you attach magnets to clay?
You attach magnets to baked and cooled clay using a strong adhesive like super glue or E6000. Just put a small amount of glue on the back of your clay piece, press the magnet firmly onto it, and let it dry completely, which usually takes several hours.
What kind of clay do you use for magnets?
You should use oven bake polymer clay for making magnets. Brands like Sculpey, Fimo, and Premo are good choices because they harden nicely in a regular kitchen oven, making your magnets durable and long-lasting.
Bring Your Ideas to Life
Making oven bake clay magnets is a truly rewarding craft. It offers a chance to be creative, make personalized items, and even give thoughtful gifts. From conditioning the clay to carefully baking it in your oven, which, as we discussed, can be a range or a specific wall oven, each step brings you closer to a finished piece. You can learn more about polymer clay basics if you want to expand your skills even further.
So, gather your supplies, pick your favorite colors, and start shaping. The joy of seeing your unique oven bake clay magnets holding up notes or simply brightening your space is quite satisfying. You might even find yourself exploring more about your kitchen appliances, like finding the perfect wall oven from brands like ge, bosch, whirlpool®, kitchenaid, lg and more, to help with all your creative baking needs. Learn more about different types of ovens on our site, and perhaps link to this page about choosing the best appliance ovens for your home.
- Adam Ross Basketball
- Nate Pontious Age
- Strip Club After Hours
- The Battersea Barge
- Main Street High Photos
GE PT9200SLSS Built In Single-Double Electric Wall Oven with True
Ninja 12 in 1 Smart Double Oven, FlexDoor, Smart Thermometer, Smart
Customer Reviews: Ninja 12-in-1 Smart Double Oven, FlexDoor, Smart
