Craft Your Space: Easy DIY Texture Wall Art For A Unique Home
There's something truly special, you know, about making things with your own hands for your home. It's like, every brushstroke or every little bit of texture you add, it tells a story, and it makes your living space feel so much more personal. When you think about it, why settle for mass-produced decor when you can create something truly one-of-a-kind? That's where diy texture wall art comes into play, offering a fantastic way to bring warmth and character to any room, and it's actually pretty fun to do, too.
People are really leaning into home improvement projects these days, just like how folks are learning to fix their own air conditioners or even put in their own inground pool covers, you know? It's that same spirit of "I can do this myself!" that makes diy texture wall art so appealing. You get to be the artist, the designer, and the decorator, all rolled into one, and honestly, the satisfaction you get from seeing your creation hanging on the wall is just immense.
This kind of art, with its bumps and ridges, just draws your eye in a way flat pictures sometimes don't. It adds a whole new layer of visual interest and depth to your walls, making a room feel cozy and inviting, or maybe even super modern, depending on what you're going for. It's a pretty cool way to express yourself, and it doesn't have to cost a fortune, which is a big plus for many of us, as a matter of fact.
- Paige Maddux Husband
- Mr Pink Energy Drink
- Om Grown Yoga Bryan Tx
- Academy Nightclub Los Angeles
- Popular Dog Hashtags
Table of Contents
- Why DIY Texture Wall Art is a Great Idea
- Getting Started: What You'll Need for Your Project
- Popular Techniques for Creating Texture
- Your First Piece: A Step-by-Step Guide
- Adding Color and Finish to Your Textured Art
- Tips for a Successful DIY Texture Wall Art Project
- Caring for Your New Textured Art
- Frequently Asked Questions About DIY Texture Wall Art
Why DIY Texture Wall Art is a Great Idea
You know, there's a real movement towards making your home feel truly yours, and that includes adding things that speak to you. DIY texture wall art fits right into this, offering a pretty unique way to spruce up your walls without breaking the bank. It's a creative outlet, for sure, and it lets you put your personal stamp on your living space, which is rather nice, don't you think?
Think about it: you can match your art perfectly to your existing decor, or you can create a bold statement piece that really stands out. The tactile quality of textured art just adds so much warmth and interest to a room, drawing the eye and making the space feel more inviting. It's a trend that's been gaining a lot of traction, and it's not hard to see why, considering how much character it adds.
Plus, the whole process of making something with your hands, whether it's building a small pump house or putting together a computer, it's just very satisfying. This kind of project is a bit like that, giving you a sense of accomplishment. It's a wonderful way to spend an afternoon, too, and you end up with something beautiful that you made yourself, which is something to be proud of, honestly.
- Noemie Le Coz
- Matt Walker Mx
- Stephanie Cheape Age
- Ai Power 2025 Event Hong Kong Venue
- Global Views Furniture
Getting Started: What You'll Need for Your Project
Before you jump into making your own diy texture wall art, you'll want to gather a few things. It's a bit like preparing for any home improvement project, like laying a gravel driveway or blowing insulation; having your supplies ready just makes everything go so much smoother. You don't need a ton of fancy stuff, just some basic materials and tools, and you'll be good to go, you know?
Essential Materials
Canvas or Board: This is your base. You can use stretched canvases from an art supply store, or even sturdy wood panels. Some people even use thick cardboard or old cabinet doors. It just needs to be something that can hold the weight of the texture, more or less.
Texturing Medium: This is where the magic happens! Common choices include:
Joint Compound (Drywall Mud): Very popular for its affordability and ease of use. It dries hard and can be sanded and painted. It's pretty versatile, actually.
Spackle: Similar to joint compound but often lighter and quicker drying. Good for smaller pieces or finer textures.
Acrylic Modeling Paste: A bit pricier, but it's specifically made for art and offers a lot of flexibility. It holds its shape well and mixes with acrylic paints.
Plaster of Paris: Creates a very hard, durable surface. It sets quickly, so you need to work fast, but it gives a rather unique finish.
Heavy Body Acrylic Paint: For subtle textures, thick acrylic paint applied with a palette knife can create some nice effects.
Paints: Once your texture is dry, you'll likely want to add color. Acrylic paints are usually the best choice because they dry quickly and are easy to work with. You might want a few different shades to add depth, you know?
Sealant/Varnish: To protect your finished piece and give it a nice sheen, a clear acrylic sealant or varnish is a good idea. It helps keep the texture from flaking off over time, which is something you'd want, obviously.
Tools to Have Handy
Palette Knives or Spatulas: These are your main tools for applying and shaping the texture medium. Different sizes and shapes can create varied effects. You can get a whole set pretty cheaply, too.
Putty Knives: If you're using joint compound, a standard putty knife works wonderfully for spreading large areas evenly or creating straight lines. It's what the pros use for drywall, so it makes sense.
Brushes: For applying paint, you'll want a variety of brush sizes. Stiff brushes can help push paint into crevices, while softer ones are good for smooth coats. Just like with any painting project, having the right brush makes a difference.
Texture Tools (Optional): Think outside the box! Combs, sponges, crumpled paper, plastic wrap, even old credit cards can create interesting patterns. Anything that can leave an impression or drag through the medium can be a tool, as a matter of fact.
Gloves: Some texturing mediums can be a bit messy or drying to the skin, so gloves are a good idea. You want to keep your hands clean, you know?
Drop Cloth or Newspaper: Protect your work surface! This can get a little messy, just like any DIY repair project, so covering your area is smart.
Popular Techniques for Creating Texture
The fun part about diy texture wall art is that there are so many ways to create interesting surfaces. It's a bit like those different butterfly house plans; each one gives you a distinct look. You can go for subtle, organic waves or bold, geometric patterns. It really just depends on what kind of feel you want for your piece, and what you're comfortable trying, you know?
Joint Compound Magic
Joint compound is a favorite for a reason. It's easy to spread, gives you plenty of working time before it dries, and it's pretty forgiving. You can achieve so many different textures with it:
Smooth Spreads: Use a wide putty knife to apply a thin, even layer. While it's wet, you can drag the edge of the knife to create subtle lines or waves. This is a good starting point for more minimalist designs, you know.
Peaks and Valleys: Apply a thicker layer of compound, then use a palette knife or spatula to lift and pull the material, creating peaks and ridges. You can make them sharp or soft, depending on your touch. It's kind of like sculpting, really.
Swirls and Circles: Use a circular motion with your tool to create swirling patterns. This works well for a more organic or abstract look. It's very meditative, actually.
Stippling: Dab the compound with a stiff brush or sponge to create a bumpy, textured surface. This can give a very rustic or aged appearance, which is pretty cool.
Combed Effects: Use a comb or a notched trowel to drag through the wet compound, making parallel lines or wavy patterns. You can even create checkerboard effects by combing in different directions, you know, for something a bit more structured.
Plaster of Paris Possibilities
Plaster of Paris sets much faster than joint compound, so you need to be ready to work quickly. It creates a very hard, stone-like finish, which is quite different. It's good for pieces where you want a really strong, almost sculptural feel.
Thick Application: Mix the plaster according to package directions, making sure it's a good consistency – not too runny, not too thick. Apply it in thick layers with a spatula or your hands (with gloves!). You can then sculpt it quickly before it hardens. It's a very immediate process, you know.
Impression Making: While the plaster is still wet, press objects into it to leave impressions. Think leaves, lace, textured fabrics, or even stamps. This is a way to add very detailed patterns to your piece, and it's rather effective.
Cracked Effects: Sometimes, as plaster dries, it can crack naturally, creating a unique, aged look. You can encourage this by applying it unevenly or by mixing it with a bit less water than usual. It's a bit unpredictable, but the results can be really interesting, actually.
Fabric and Found Object Fun
Don't limit yourself to just pastes! You can embed all sorts of things into your diy texture wall art for truly unique effects. This is where your creativity can really shine, you know?
Fabric Scraps: Glue down pieces of fabric – lace, burlap, old denim – onto your canvas before applying your texturing medium. The medium will seep into the fabric, highlighting its texture. It adds a lovely softness, in a way.
Sand or Grit: Mix fine sand, coffee grounds, or even birdseed into your texturing medium for a gritty, natural feel. This works especially well for abstract landscapes or earthy pieces. It gives it a very organic feel, you know?
Small Objects: Buttons, beads, small pebbles, dried pasta, even bits of broken pottery can be glued onto the canvas and then covered with a thin layer of texturing medium. This creates raised, sculptural elements. It's a great way to use up bits and bobs you have lying around, too.
Your First Piece: A Step-by-Step Guide
Ready to get your hands a little dirty? Making your first piece of diy texture wall art is pretty straightforward, honestly. It's a bit like learning to polish plastic or refill your AC freon; once you know the steps, it gets much easier. Just take it one step at a time, and you'll be fine, you know?
1. Prep Your Space
Lay down a drop cloth or plenty of newspaper to protect your work surface. This is a messy project, so definitely don't skip this step. Make sure you have good ventilation, especially if you're using joint compound or plaster, as a matter of fact. Gather all your materials and tools so they're within easy reach. This saves you from scrambling later, which is always good.
2. Apply the Base Texture
Start by applying a base layer of your chosen texturing medium to your canvas or board. Use a wide palette knife or putty knife to spread it evenly. Don't worry too much about perfection at this stage; it's just about getting a good foundation down. You can make it as thin or thick as you like, depending on how prominent you want the texture to be. This is where you really start to see your piece come to life, you know?
3. Add the Details and Patterns
While the base layer is still wet, start creating your desired texture. This is where you can experiment with different tools and techniques. Drag a comb through the medium for lines, use a sponge for a dappled effect, or simply use your palette knife to create peaks and valleys. If you're embedding objects, press them gently into the wet medium now. Remember, you have a bit of working time, especially with joint compound, so don't rush it. This is where your unique style really comes through, actually.
4. Drying Time is Key
This is probably the hardest part – patience! Your textured piece needs to dry completely before you can paint it. Drying times vary greatly depending on the thickness of your texture and the type of medium you used. Joint compound can take 24-48 hours, sometimes even longer for very thick applications. Plaster of Paris dries much faster, often within an hour or two. Make sure your piece is in a well-ventilated area and avoid disturbing it while it's drying. Trying to paint too soon will just cause problems, you know?
5. Paint and Seal Your Creation
Once your texture is bone dry, it's time to add color! We'll go into more detail on this in the next section, but generally, acrylic paints work best. Apply your paint, letting it dry between coats if you're layering colors. After the paint is completely dry, apply a clear sealant or varnish to protect your beautiful diy texture wall art. This step is super important for durability, especially if you want your art to last a long time, which you probably do.
Adding Color and Finish to Your Textured Art
Once your diy texture wall art is all dry and firm, it's time to bring it to life with color! This step is where you really get to define the mood and style of your piece. It's kind of like choosing the right paint for your home improvement projects; the color makes a huge difference, you know?
Choosing Your Palette
Think about where your art will hang. Do you want it to blend in with existing colors, or be a striking contrast?
Monochromatic: Using different shades of one color can create a very sophisticated and calming effect, really highlighting the texture itself. This is a very popular choice right now, as a matter of fact.
Neutral Tones: Whites, grays, beiges, and earthy browns are always a safe bet and fit well with most decor styles. They let the texture do all the talking, in a way.
Bold Accents: A pop of bright color can make your textured art a focal point in the room. Consider using a single bold color over a neutral base, or perhaps just on the raised parts of the texture. It can really make the piece stand out, you know?
Metallics: Gold, silver, or copper paints can catch the light beautifully on textured surfaces, adding a touch of glamour. They're pretty striking, honestly.
Painting Techniques for Textured Surfaces
Applying paint to texture is different from painting a flat surface. The texture itself will influence how the paint looks and settles.
Dry Brushing: Dip your brush in a small amount of paint, then wipe most of it off on a paper towel. Lightly drag the brush over the raised parts of your texture. This technique highlights the high points and leaves the crevices darker, creating a lot of depth. It's a very effective way to show off the texture, you know?
Washing/Glazing: Mix a small amount of paint with water to create a thin, translucent wash. Brush this over the entire piece. The wash will settle into the crevices, darkening them and giving a subtle tint to the raised areas. You can layer different washes for complex color effects, which is pretty cool.
Sponge Painting: Dab paint onto the surface with a sponge for a mottled, uneven look. This can be great for organic textures or for adding multiple layers of color. It's a very forgiving technique, too.
Full Coverage: For a more uniform look, apply paint with a brush, making sure to push it into all the textured areas. You might need a few coats to get full opacity. This works well if you want the texture to be felt more than seen, in a way.
Sealing for Longevity
Once your paint is completely dry – give it at least 24 hours, just to be safe – it's time to seal your artwork. This step is super important, like making sure your concrete lifting project is done right, because it protects your diy texture wall art from dust, moisture, and general wear and tear. It also helps to lock in the colors and prevent flaking, which you definitely want.
Clear Acrylic Spray Sealant: This is probably the easiest option. Apply several light, even coats, holding the can about 10-12 inches away from your art. Let each coat dry before applying the next. Make sure you do this in a well-ventilated area, or even outdoors, you know?
Brush-On Varnish: A clear acrylic varnish can also be brushed on. This gives you more control, especially if your texture has very deep crevices. Choose a finish – matte, satin, or gloss – that complements your art. A matte finish will keep the raw, natural look of the texture, while gloss will make the colors pop and add a bit of shine, as a matter of fact.
Tips for a Successful DIY Texture Wall Art Project
Making diy texture wall art is pretty rewarding, and with a few pointers, you can make sure your project goes smoothly. It's like any DIY endeavor, whether you're building a butterfly house or tackling home repairs; a little bit of planning and some good advice really helps, you know?
Start Small: For your first piece, try a smaller canvas or board. This allows you to experiment with techniques without committing to a huge project. It's less intimidating, too, which is nice.
Experiment with Tools: Don't just stick to palette knives. Try old credit cards, plastic forks, crumpled paper, or even your fingers (with gloves!) to create different patterns. You might discover a technique you really love, actually.
Work in Layers: For really deep or complex textures, apply your medium in layers, allowing each layer to dry partially before adding the next. This helps prevent cracking and ensures good adhesion. It's a bit like building up a sculpture, in a way.
Embrace Imperfection: Textured art is often about organic, natural forms. Don't strive for absolute perfection; sometimes the most interesting pieces have a bit of a raw, handmade feel. That's part of their charm, you know?
Lighting Matters: Think about how light will hit your finished piece. Textured art creates shadows, and the way light falls on it can dramatically change its appearance throughout the day. It's something to consider when planning your design, honestly.
Ventilation is Key: When working with joint compound, plaster, or spray sealants, make sure you have plenty of fresh air
- Noemie Le Coz
- Katie Sigmond Uncensored
- Christmas Market Niagara Falls
- Main Street High Photos
- Phi Kappa Sigma Msu

Ideas for woodworking projects | Rustic Wooden Bench
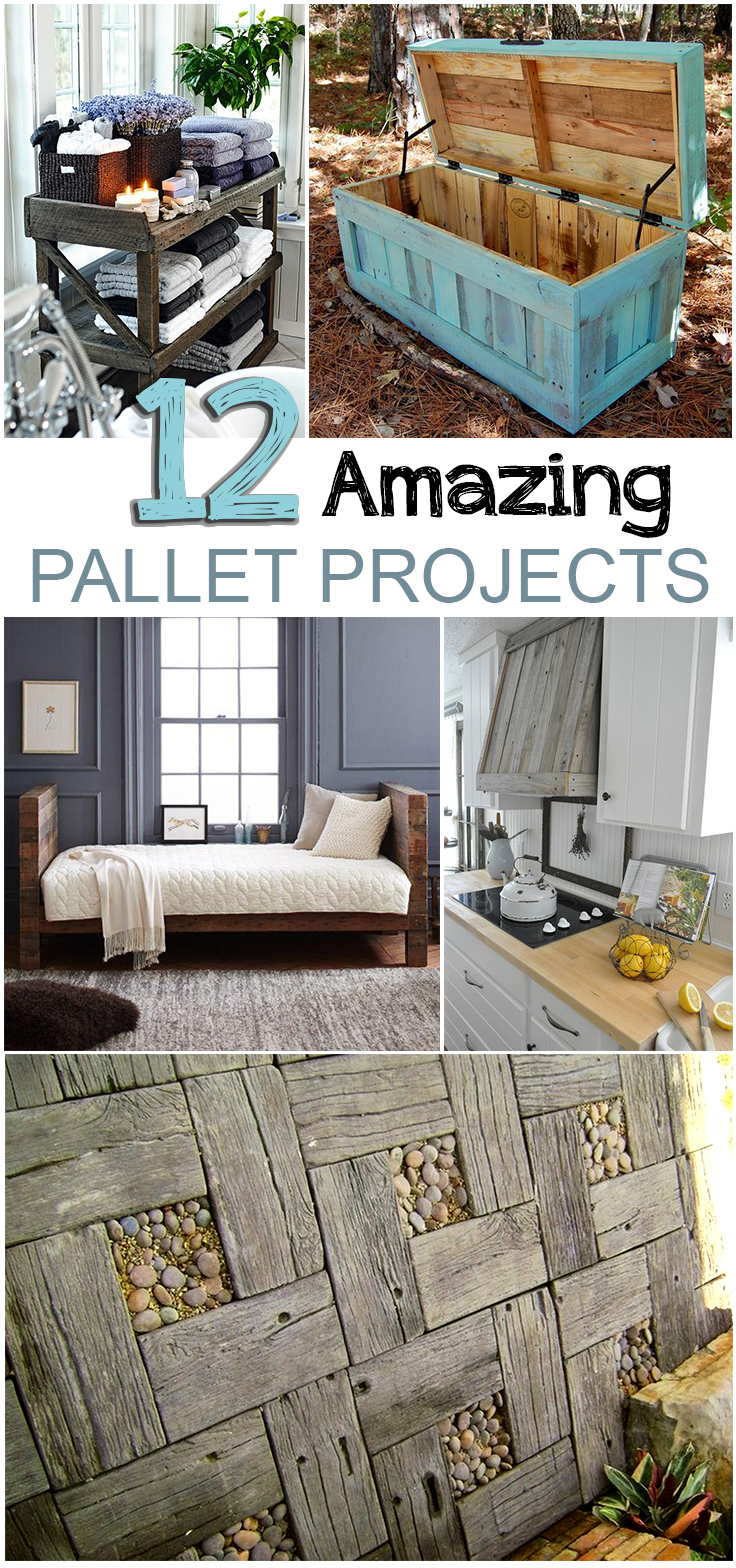
Easy Diy Pallet Projects
.jpg)
50 easy DIY projects made from items in your recycling bin - My Mommy Style
