Unlock Your Space: Smart Storage Bin Plans For Every Home
Clutter, it's almost a universal challenge, isn't it? Our homes, offices, and even our garages can sometimes feel like they're bursting at the seams. We gather things, you know, items we need for later, or things that simply bring us joy. But then, figuring out where to put it all, that's the tricky part, isn't it? This is where having good storage bin plans can really make a difference, helping you get your space back in order.
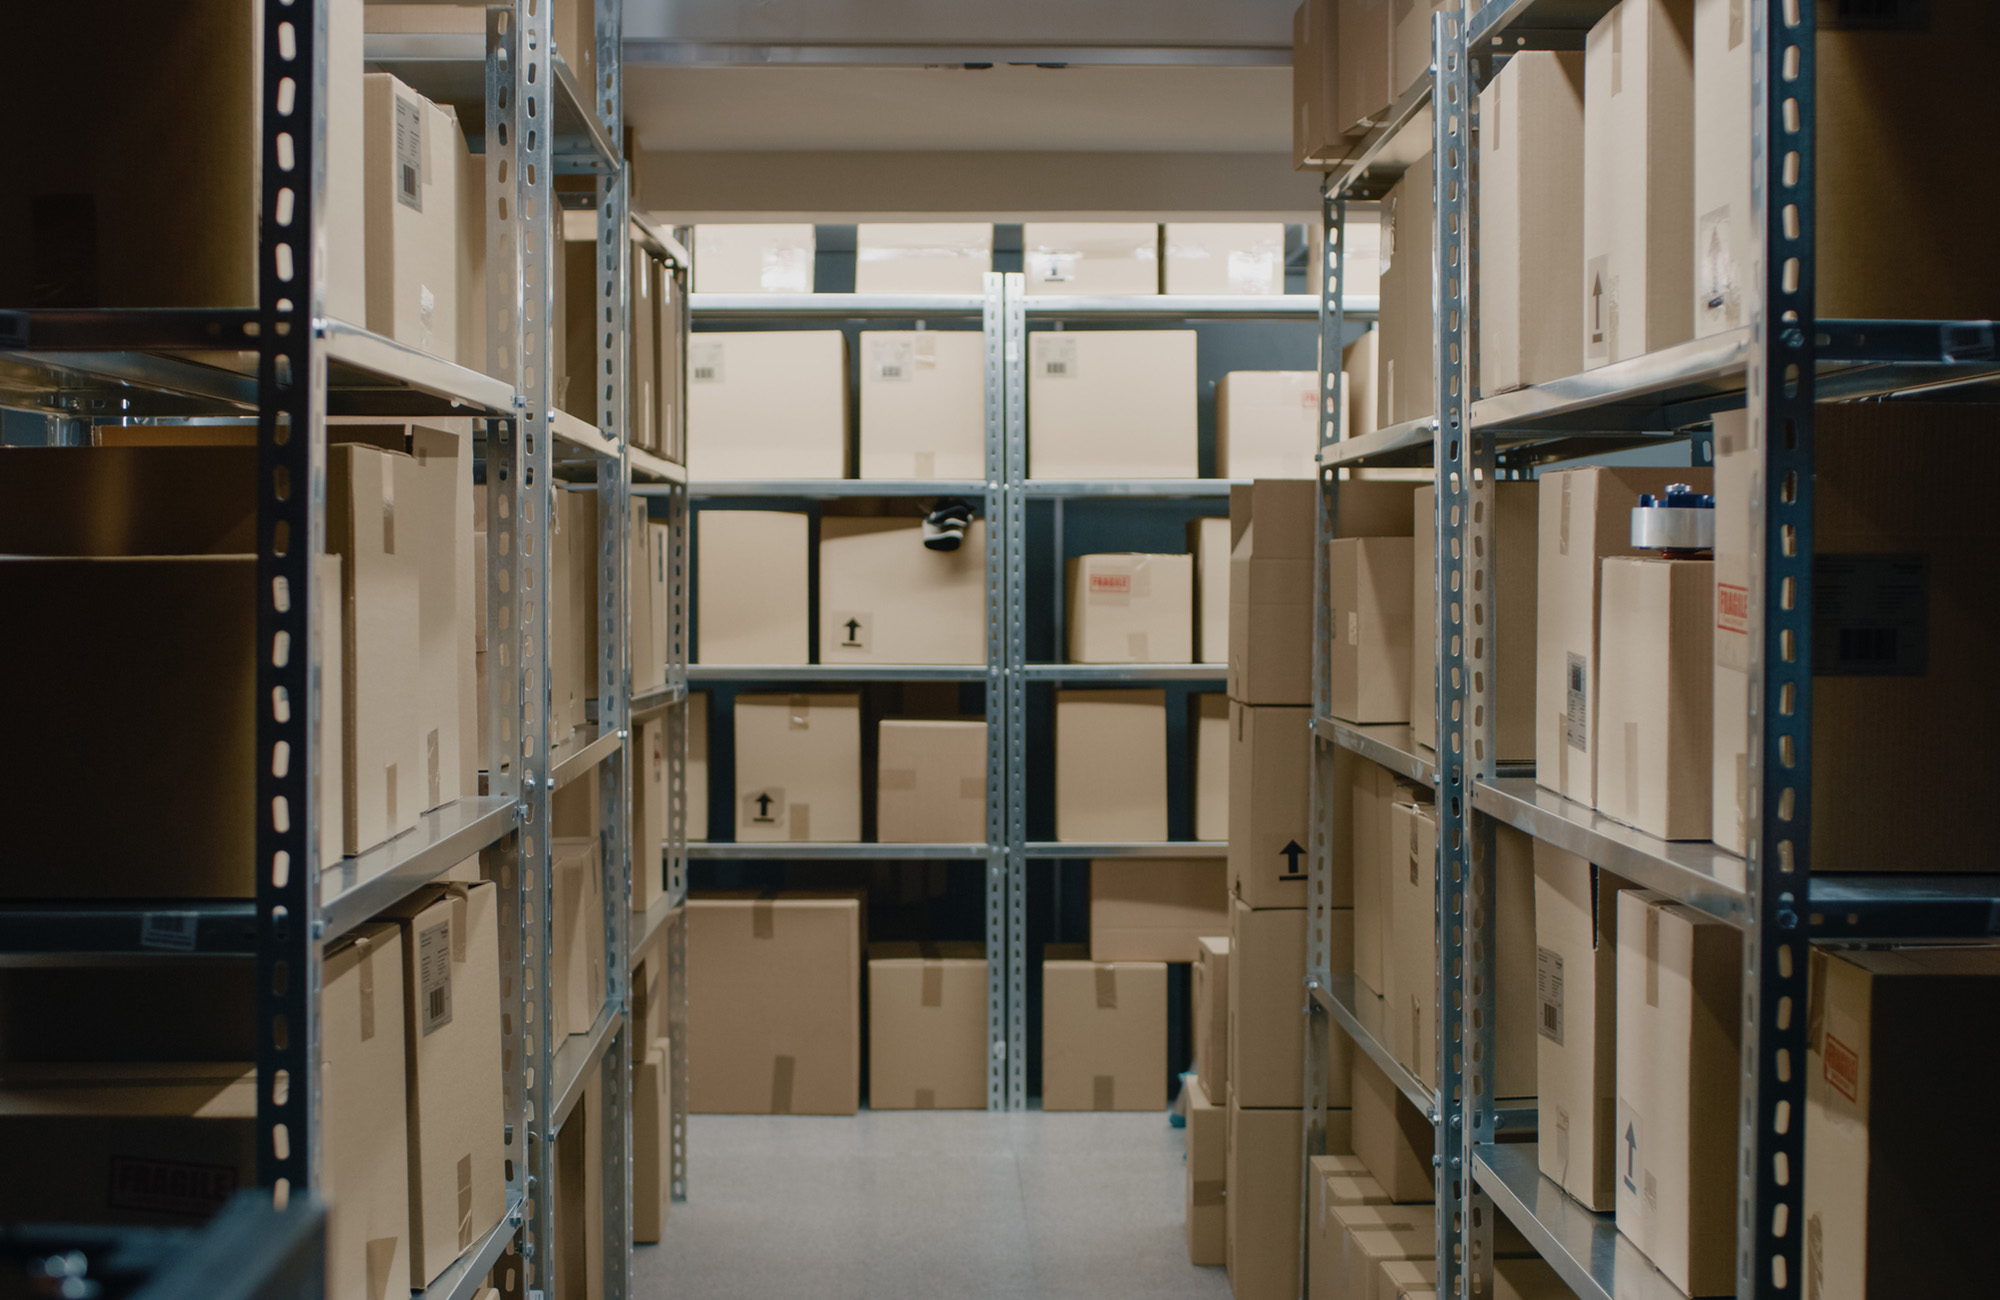
We often think about big storage solutions, like the secure storage units Extra Space Storage offers, with their convenient self-storage facilities near you, perhaps in places like Chicago, IL, or even near Manti, UT 84642. Those are great for larger items or when you need a lot of extra room. But what about the day-to-day stuff, the items that pile up right inside your own living area? This is where custom solutions for home storage become very valuable, giving you places for your things.
The meaning of storage, as a matter of fact, is simply a space or a place for keeping things. And just like cloud storage provides a managed service for storing unstructured data, giving you free credits and gigabytes to store any amount of data, having your own well-thought-out storage bin plans can give you a personal system for keeping your physical items. It's about putting and keeping things in a special place for use in the future, more or less, right where you need them.
Table of Contents
- Why Making Your Own Storage Bins is a Good Idea
- Figuring Out Your Needs Before You Start
- Materials That Work Well for DIY Storage Bins
- Simple Storage Bin Plans to Get You Started
- Making Your Bins Look Good and Work Better
- Tips for Getting Your Storage Bin Plans Just Right
- Frequently Asked Questions About Storage Bin Plans
Why Making Your Own Storage Bins is a Good Idea
Making your own storage bins, you know, it has a lot of good points. For one thing, it lets you make something that fits your space exactly. Store-bought bins might not always fit that awkward corner or the specific shelf you have. When you use storage bin plans, you get to decide the exact size and shape, which is pretty handy, actually.
Then there's the money aspect. Buying a lot of pre-made bins can get quite pricey, especially if you need many of them. Building them yourself, using materials you might already have or can get for a good price, can often save you a bit of cash. This means you can put your money towards other things for your home, which is a good feeling.
And let's not forget the satisfaction, you know? There's something really rewarding about making something with your own hands. You get to see your storage bin plans come to life, from a simple idea to a useful item that helps keep your home tidy. It's a bit like a small personal project that brings big results for your daily life, in a way.
Figuring Out Your Needs Before You Start
Before you even think about picking up tools or materials, it's very important to know what you need your storage bins for. What kind of things will you put inside them? Are they for toys in a child's room, tools in the garage, or maybe documents in your home office? The items you plan to store will really help you decide on the right size and strength for your bins, you see.
Think about the spot where the bins will live, too. Will they go on a shelf, under a bed, or perhaps stand on their own? Measuring the available space is a big step, as a matter of fact. Just like when you find the right size storage unit for your needs at a facility, you need to find the right size for your home bins. This helps you avoid making something too big or too small for its intended spot, which is a common issue.
What to Think About for Your Storage Bin Plans
- What items will go in the bin? Small items like craft supplies need different bins than large items like blankets or sports gear.
- Where will the bin be placed? Measure the height, width, and depth of the space.
- How often will you access the items? Bins for frequently used items might need easy-open tops or no tops at all.
- Do you need them to stack? If so, your storage bin plans will need to include features that allow for stable stacking.
- What kind of look do you want? The style of your bins can really add to the feel of your room.
Materials That Work Well for DIY Storage Bins
The materials you choose for your storage bin plans will depend a lot on what you're storing and where the bin will be. Some materials are strong and long-lasting, while others are lighter and easier to work with. It's about finding a good balance between what you need and what you can comfortably build, you know.
For something that needs to hold a lot of weight or get a lot of use, wood is usually a good pick. But for lighter items or decorative storage, you might consider other options. The good news is that there are many choices, so you can pick what works best for your project, which is really helpful.
Wood Options for Strong Bins
- Plywood: This is a very popular choice for storage bin plans, frankly. It's strong, fairly inexpensive, and comes in large sheets, so you can cut many pieces from one. It takes paint and stain well, too.
- Pine: A softer wood, but it's easy to cut and join. It's good for bins that don't need to hold extremely heavy items. Pine also has a nice, natural look if you choose to leave it unstained.
- MDF (Medium-Density Fiberboard): This material is very smooth and takes paint beautifully, making it great for a finished look. However, it can be heavy and doesn't do well with moisture, so it's best for indoor, dry areas, apparently.
- Reclaimed wood: If you like a rustic look, old pallets or salvaged wood can be a really cool option. It's environmentally friendly and often has a lot of character, which is rather unique.
Other Materials to Consider
- Heavy-duty cardboard: For very light storage or temporary solutions, thick cardboard boxes can be repurposed. You can cover them with fabric or paper for a nicer look, which is a bit clever.
- Plastic crates: While not exactly "building" from scratch, you can modify plastic crates by adding wheels, lids, or decorative covers. They are quite durable and easy to clean, so they work well in many spots.
- Fabric and wire frames: For soft storage, like for clothes or linens, you could create fabric covers over simple wire frames. This makes them light and easy to move around, which is pretty convenient.
Simple Storage Bin Plans to Get You Started
Now, let's get into some basic storage bin plans that you can try. These ideas are relatively simple, so even if you're new to making things, you can probably give them a go. The key is to start with something manageable and then build up your skills, you know.
Remember to always measure twice and cut once, as that saying goes. It saves you a lot of trouble and wasted materials. And always use safety gear, like eye protection, when working with tools, which is just good sense.
The Basic Wooden Crate Bin
This is a classic, you know, and it's quite versatile. You'll need some wood planks, maybe 1x4s or 1x6s, depending on the size you want. You'll also need wood glue and screws or nails.
- Cut your pieces: For a simple rectangular bin, you'll need two pieces for the long sides, two for the short sides, and one for the bottom. Make sure your measurements are accurate for the space you have.
- Assemble the sides: Join the long and short side pieces to form a box shape. You can use butt joints, which are the simplest, just putting edges together. Apply wood glue to the edges and then secure them with screws or nails. You might want to pre-drill holes to prevent the wood from splitting, especially with softer woods, apparently.
- Attach the bottom: Once the sides are together, fit the bottom piece inside the frame or attach it to the bottom edges of the sides. Again, use glue and fasteners.
- Add handles (optional): You can cut handholds into the short sides or attach rope handles for easier carrying. This makes them much more practical, really.
Fabric-Covered Cardboard Bins
For a quick and pretty storage solution, this is a good choice. You'll need sturdy cardboard boxes, fabric of your choice, and strong craft glue or spray adhesive. This is a pretty simple project, you know.
- Prepare the box: Make sure your cardboard box is clean and in good shape. Remove any flaps that aren't needed, or tape them down neatly.
- Cut the fabric: Measure the box's sides and bottom. You'll want pieces that are big enough to wrap around the edges and fold inside the box a bit for a clean finish. Cut one large piece for the outside, and another for the inside bottom, and maybe smaller pieces for the inside walls, you see.
- Attach the fabric: Apply glue to one side of the box and carefully smooth the fabric onto it, working out any bubbles. Wrap the fabric around the edges and glue it down on the inside. Repeat for all sides.
- Finish the inside: Line the inside of the box with fabric for a tidier look. You can use hot glue for quick adhesion or craft glue. This really gives it a finished appearance, which is nice.
Stackable Plywood Bins
If you need bins that can sit on top of each other, plywood is a great material. The key here is to add a lip or a ridge that allows one bin to sit securely on another. This is a bit more involved, but still very doable, you know.
- Cut plywood pieces: You'll need two side pieces, a front, a back, and a bottom for each bin. Consider making the front slightly lower than the back for easier access, which is a good design idea.
- Assemble the box: Use wood glue and screws to join the pieces, creating a sturdy box. Use clamps to hold the pieces together while the glue dries, which really helps keep things straight.
- Add stacking rails: This is the important part for stacking. On the outside of the upper edge of each bin, attach small strips of wood or plywood, about 1/2 inch thick and 1 inch wide. These strips should extend slightly beyond the bin's outer edge, creating a lip. When you place another bin on top, its bottom will rest on these lips. Make sure they are very secure, you know.
- Sand and finish: Sand all rough edges. You can paint, stain, or seal the plywood for a finished look. This protects the wood and makes it look good, too.
Making Your Bins Look Good and Work Better
Once you've built your storage bins, you can make them even more useful and appealing. It's not just about hiding things away; it's also about making your space feel more organized and pleasant. A little extra effort here can really pay off, in a way.
Think about how these bins will fit into the overall look of your room. Do you want them to blend in or stand out? The way you finish them can really change their appearance, you know.
Adding a Personal Touch
- Paint or stain: A fresh coat of paint can transform a plain wooden bin. Choose colors that match your room's decor. Stains can bring out the natural beauty of the wood.
- Decorative paper or fabric: For cardboard or even wooden bins, you can glue on decorative paper, wallpaper, or fabric for a unique pattern or texture.
- Hardware: Adding metal corner protectors, decorative handles, or even small wheels can give your bins a more polished or industrial look. Wheels are especially handy if you need to move heavy bins often, which is a practical consideration.
- Stenciling or hand-painting: If you're feeling creative, you can stencil designs or hand-paint patterns onto your bins. This truly makes them one-of-a-kind, you know.
Labeling Your Storage Bins
This might seem like a small detail, but it's very important for keeping things organized. You know how frustrating it is to look for something and not remember where you put it? Labels fix that, pretty much.
- Chalkboard paint: Paint a section of your bin with chalkboard paint so you can write and erase labels as needed. This is very flexible, you see.
- Label holders: Attach small metal or plastic label holders to the front of your bins. You can slide paper labels in and out, which is good for changing contents.
- Permanent markers: For bins with unchanging contents, a permanent marker works just fine. Just be sure of what's inside before you write, you know.
- Printed labels: Design and print your own labels on cardstock or sticker paper. You can make them look really nice and consistent.
Tips for Getting Your Storage Bin Plans Just Right
When you're working on your storage bin plans, remember that a little planning goes a long way. Don't rush the measuring or cutting steps. Taking your time here will save you headaches later, which is something many people learn the hard way.
Also, don't be afraid to adjust your plans as you go. Sometimes, what looks good on paper doesn't quite work in real life. Being flexible means you can make changes that lead to a better end product, you know. It's all part of the making process.
Consider the weight of the items you'll store. If you're putting heavy things in, you might need thicker wood or extra support for the bottom of the bin. This is especially true for larger bins. For instance, if you're storing raw materials or finished goods, as you might in a commercial storage unit, your home bins need to be just as sturdy for their purpose, you see.
And finally, remember to have fun with it! Making things for your home can be a very enjoyable activity. It's a way to put your own mark on your living space, making it truly yours. For more ideas and detailed woodworking plans, you could look at resources like a popular woodworking magazine's website, as they often have good guides.
Frequently Asked Questions About Storage Bin Plans
People often have questions when they start thinking about making their own storage bins. Here are some common ones that come up, you know, things that might be on your mind too.
What materials are best for DIY storage bins?
The best materials, you know, really depend on what you need. For strong, long-lasting bins, plywood or solid wood like pine are usually good choices. They hold up well. If you need something lighter or more decorative, thick cardboard covered with fabric can work nicely, or even repurposed plastic crates. It's about matching the material to the job, basically.
How do I make storage bins look good?
Making your storage bins look good is pretty simple, actually. You can paint them to match your room's colors, or use wood stain to bring out the natural grain. Adding decorative touches like unique handles, stenciled designs, or even covering them with attractive fabric can really make them pop. The finish makes a big difference, you know, giving them a polished appearance.
Are homemade storage bins cheaper than buying?
Homemade storage bins can often be quite a bit cheaper than buying them, especially if you need several or if you use reclaimed materials. Buying lumber in bulk or using leftover wood from other projects can significantly cut down the cost. Of course, the price also depends on the type of wood or materials you pick and how fancy you make them, but generally, yes, they can save you money, you see.
Learn more about storage solutions on our site, and find ways to organize your home spaces.
- The Hub Bridgehampton
- Marina City Club Photos
- 2022 Time Dealer Of The Year Bob Giles
- Mr Pink Energy Drink
- Street Of Dreams 2024
Archive Storage at Kangaroo Self Storage | All Inclusive Price
How to Buy a Storage Unit | HOLD Storage Kings Cross

Storage Units in Dublin | Dublin City Storage ltd
