Making Your Own Cherry Beads Bracelet: A Fun Project For Anyone
Have you ever wanted to make something truly special with your own hands, something that pops with color and shows off a bit of your creative spirit? Well, making a cherry beads bracelet could be just the project you are looking for. It's a delightful craft that’s simple and fun for all ages, offering a chance to create a little piece of wearable art that is uniquely yours. You know, it's pretty satisfying to wear something you put together yourself, isn't it?
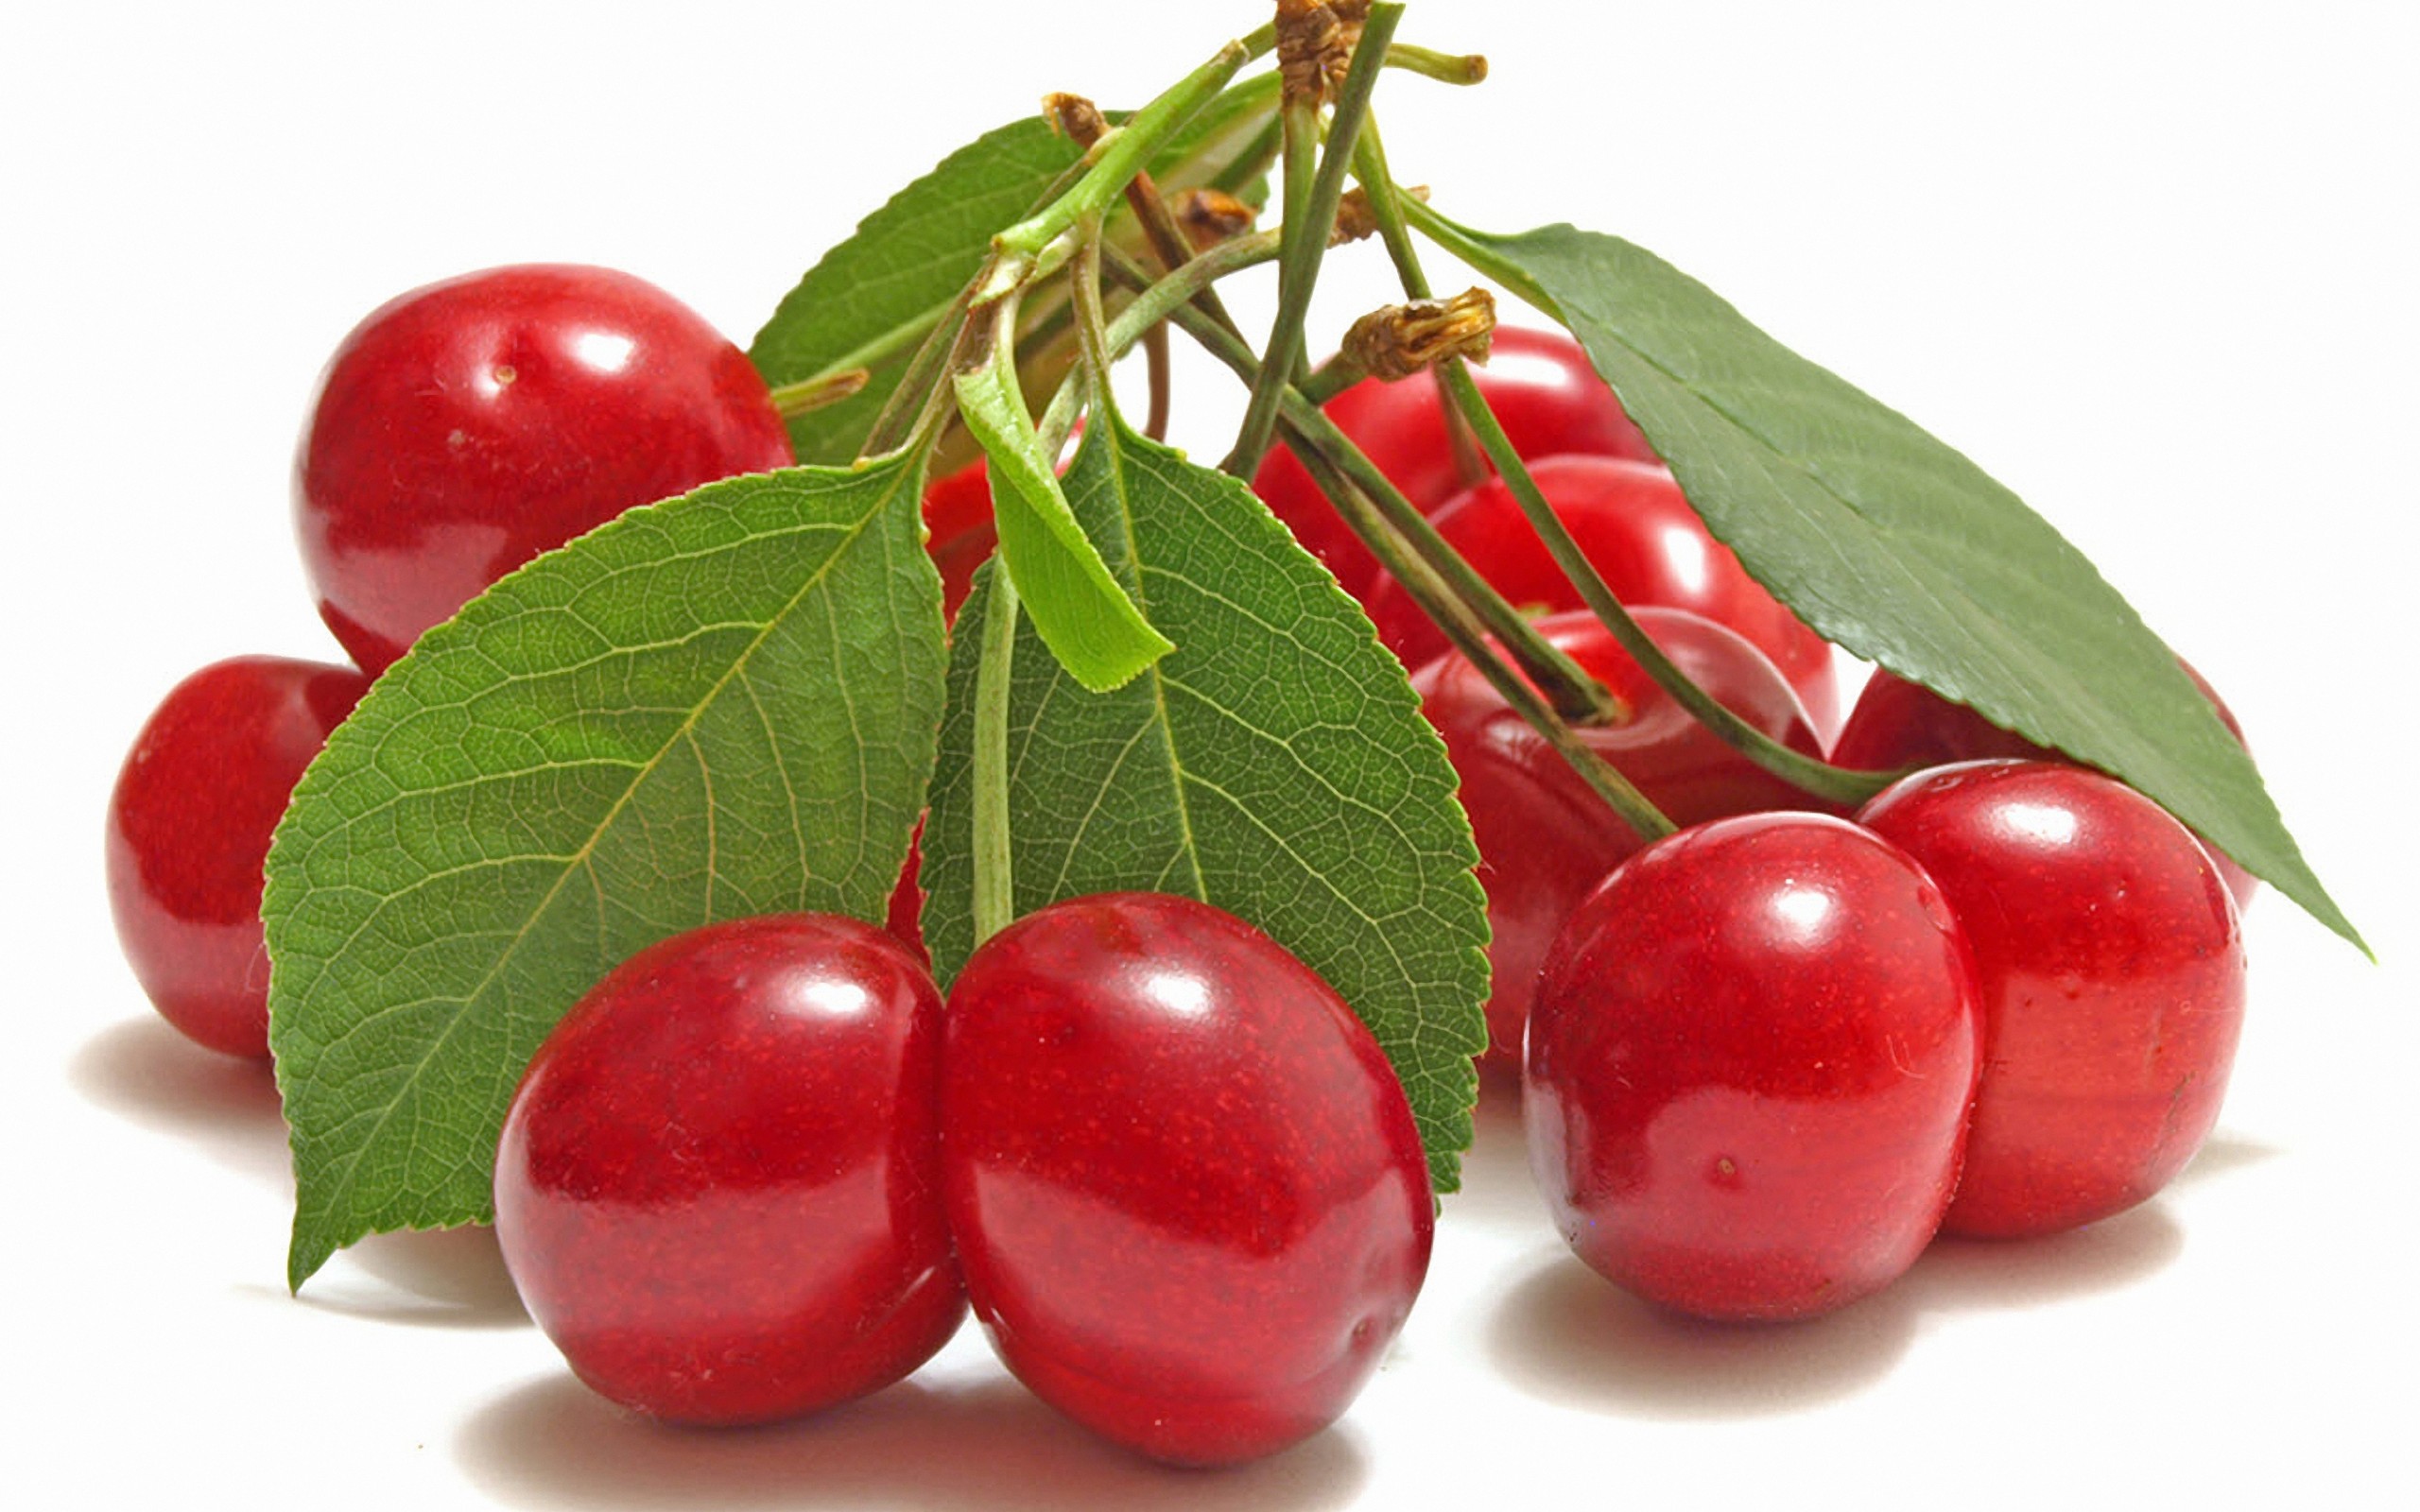
There is something quite charming about a cherry beads bracelet. The little red "cherries" and green "leaves" give off such a cheerful vibe, almost like a tiny garden for your wrist. These diy cherry beaded bracelets are, in a way, a bright pop of color that can really cheer up any outfit, whether you are going for a casual look or adding a playful touch to something a bit more dressed up. It's a wonderful way to bring a little bit of joy into your day, or perhaps into someone else's.
What's more, these beaded creations are not just pretty to look at; they are also a fantastic craft project. From what I have seen, making the bead cherries can be a very relaxing activity, and you get a lovely piece of jewelry at the end of it. It’s a project that brings a good feeling, and you can even give these as a thoughtful gift. So, let's explore how you can make one of these lovely pieces for yourself or for someone you care about, because it's actually quite simple to get started.
- Christmas Market Niagara Falls
- Mia Justice Smith
- Street Of Dreams 2024
- Taste Fest Detroit
- Trapstation Weed Packaging
Table of Contents
- Why Make a Cherry Beads Bracelet?
- What You Will Need: Your Crafting Kit
- Step-by-Step: How to Make Your Bracelet
- Tips for a Great-Looking Bracelet
- Beyond the Bracelet: Other Cherry Bead Ideas
- Caring for Your Beaded Jewelry
- Frequently Asked Questions About Cherry Bead Bracelets
- Your Own Creative Touch
Why Make a Cherry Beads Bracelet?
There are many reasons why someone might want to make a cherry beads bracelet. For one, it's a very personal way to express yourself. When you create something by hand, you put a little bit of your own personality into it, and that really shows. It's a way to wear something that no one else has, something truly unique, which is pretty cool, if you ask me.
Another big reason is the pure enjoyment of the craft itself. Making things with your hands can be very calming and satisfying. It gives you a chance to focus on something simple and beautiful, which can be a nice break from the busy pace of everyday life. Plus, it's a skill you can share with others, perhaps teaching a friend or a family member how to make their own, too. That's a nice thought, isn't it?
Also, these bracelets make really thoughtful presents. When you give someone a handmade cherry beads bracelet, it shows you put time and care into their gift. It's much more meaningful than something bought from a store, and people often appreciate that personal touch a lot. So, whether it's for yourself or for a loved one, making a cherry beads bracelet is a worthwhile activity.
- Aepi Indiana University
- Mommas Grocery Wine Photos
- Dan Taylor Surfboards
- Union Pines Wrestling
- The Hub Bridgehampton
What You Will Need: Your Crafting Kit
Before you get started on your cherry beads bracelet, you will need to gather a few things. Having everything ready before you begin makes the whole process smoother and more enjoyable. It's a bit like getting your ingredients ready before you start cooking; it just makes sense. So, let's look at what you will need to put together your little crafting kit.
Choosing Your Beads
The beads are, obviously, the most important part of your cherry beads bracelet. You will need red beads for the cherries and green beads for the leaves. For the red beads, round ones work best to give that plump, cherry-like look. You can find these in various sizes, so you might want to pick a size that feels right for your wrist or for the person you are making it for. Smaller beads can look delicate, while larger ones can make a bolder statement, you know?
For the green beads, smaller ones that can act as leaves are good. Sometimes, people use seed beads or tiny glass beads for this. You might even find some that are shaped a bit like leaves, which would be really neat. And then, you might want some other beads for the rest of the bracelet, maybe some clear ones, white ones, or even some black ones to act as spacers between your cherry clusters. This really helps to make the cherry parts stand out, in a way.
You can find a great selection of cherry beads bracelet options and other unique, custom, handmade pieces from various shops online. It's worth looking around to see what kind of beads catch your eye, because there are so many different kinds out there. You might find something truly special that makes your bracelet even more personal, and that's always a good thing.
Stringing Materials
For your cherry beads bracelet, you will need something to string your beads onto. There are a few choices here, and what you pick might depend on how sturdy you want your bracelet to be. Elastic string is a very popular choice for bracelets because it makes them easy to slip on and off your wrist without needing a clasp. This is especially good for beginners, I think, as it's less complicated.
Another option is jewelry wire, which gives a more structured feel to your cherry beads bracelet. If you use wire, you will also need a clasp to connect the ends, and maybe some crimp beads to secure the wire. Some people also like using a strong thread, like a nylon beading thread, which can be very durable. Just make sure whatever you choose is strong enough to hold all your pretty beads without breaking, that's important.
The length of your stringing material also matters. You will want to cut a piece that is long enough to comfortably go around your wrist, plus a few extra inches for tying knots or adding clasps. It's better to have a bit too much than too little, honestly, because you can always trim off the excess later. So, measure your wrist, add a good amount, and then cut your string.
Tools to Help You Out
While making a cherry beads bracelet is quite simple, a few basic tools can make the job much easier. A pair of sharp scissors is, of course, needed to cut your string or wire. If you are using wire, you might also want some round-nose pliers and flat-nose pliers. These are really helpful for bending wire, opening jump rings, and closing crimp beads, so they are quite useful for that.
A bead stopper or a piece of tape can be very handy to keep your beads from sliding off the end of your string while you are working. It's pretty frustrating when all your beads fall off, so this little trick saves a lot of trouble. A bead mat, which is a soft, fuzzy surface, can also help keep your beads from rolling away, which is very helpful when you are working with lots of tiny pieces. These little things really do make a difference in your crafting experience.
Step-by-Step: How to Make Your Bracelet
Now that you have all your materials, it's time to actually make your cherry beads bracelet. This is the fun part where your vision starts to come to life. The process is pretty straightforward, and you will see how quickly your bracelet takes shape. So, let's go through the steps one by one, because it's not as hard as you might think.
Getting Your Cherries Ready
First, you need to create the "cherry" clusters. For each cherry, you will typically use two red beads. You can string these two red beads onto a small piece of wire or a separate, thinner thread. Then, you will want to add a small green bead right next to them, representing the leaf. Some people even use a tiny black bead in between the two red ones to give the impression of a cherry stem, which is a neat detail.
Once you have your two red beads and one green bead together, you will loop the wire or thread back through the beads to secure them into a little cluster. This forms one "cherry." You will need to make several of these, depending on how many cherries you want on your bracelet. You might want to make an odd number of cherries, like three or five, as that often looks quite pleasing to the eye, you know?
Make sure each cherry cluster is secure, so the beads do not move around too much. You want them to stay in their little cherry shape. This step takes a little bit of patience, but it's very important for the overall look of your cherry beads bracelet. It's the part that really brings the "cherry" to life, after all.
Putting It All Together
Once your individual cherry clusters are ready, it's time to string them onto your main bracelet cord. Take your chosen stringing material, whether it's elastic cord or wire, and start adding your beads. You might want to begin with a few spacer beads, then add a cherry cluster, then more spacer beads, and so on. This creates a nice pattern and helps to space out your cherries evenly.
Think about the overall design you want for your cherry beads bracelet. Do you want the cherries to be close together, or do you prefer them spread out with other beads in between? You could use different colored spacer beads, perhaps white or clear ones, to really make the red and green pop. This is where you can really let your creativity shine, so feel free to experiment a little.
As you add beads, occasionally wrap the growing bracelet around your wrist to check the length. You want it to fit comfortably, not too tight and not too loose. Remember, it's easier to adjust the length as you go than to try and fix it all at the very end. So, keep checking that fit, as a matter of fact, it makes a big difference.
Finishing Your Bracelet
When you have strung all your beads and are happy with the length, it's time to finish your cherry beads bracelet. If you are using elastic cord, the simplest way to finish is to tie a secure knot. A surgeon's knot is often recommended for elastic because it holds very well. You might want to put a tiny drop of jewelry glue on the knot for extra security, but be careful not to get it on the beads themselves.
If you are using wire, you will need to attach a clasp. This usually involves using crimp beads and jump rings. You thread a crimp bead onto the wire, then loop the wire through one side of your clasp, and then back through the crimp bead. You then use your flat-nose pliers to gently squeeze the crimp bead flat, securing the wire. You do this on both ends of the bracelet, making sure the clasp connects properly. It sounds a bit involved, but it's pretty simple once you get the hang of it.
Once your cherry beads bracelet is finished, trim any excess string or wire close to the knot or crimp bead. Give it a gentle tug to make sure everything is secure. Then, put it on and admire your beautiful, handmade creation! It's a very rewarding feeling, seeing your work come to life on your wrist, you know, it really is.
Tips for a Great-Looking Bracelet
Making a cherry beads bracelet is fun, and with a few extra tips, you can make yours look even better. One tip is to pay attention to the quality of your beads. Better quality beads, even simple ones, can make a big difference in the overall look and feel of your bracelet. They often have a nicer shine and more consistent color, which is pretty important for a good finish.
Another idea is to play with different shades of red and green. You don't have to stick to just one shade. Mixing a few slightly different reds for the cherries, or different greens for the leaves, can add depth and interest to your cherry beads bracelet. It gives it a more natural, organic feel, which is rather nice. So, try out some variations if you can.
Consider the size of your beads in relation to each other. If your red beads are very large, using tiny green beads might look a bit off balance. Try to pick beads that seem to go well together in terms of their size and shape. This helps create a harmonious look for your finished piece, and that's generally a good aim for any craft project.
Finally, don't be afraid to make mistakes. Crafting is all about learning and trying new things. If your first cherry beads bracelet isn't perfect, that's totally okay. You can always undo it and start again, or simply learn from what happened and apply that knowledge to your next project. Every piece you make helps you get better, and that's a pretty cool thing.
Beyond the Bracelet: Other Cherry Bead Ideas
Once you get the hang of making a cherry beads bracelet, you might find yourself wanting to make other things with your cherry beads. The good news is, the same techniques can be used for a whole range of fun projects. For example, a beaded cherry necklace is a really popular choice. You can make a single large cherry pendant or string several cherry clusters along a necklace chain, which would look lovely.
Diy bracelets or necklaces strung with cherries made out of beads are a fun craft project that you can keep for yourself or give as a thoughtful gift, so you have options. You could even make cherry bead earrings, perhaps just a single cherry cluster dangling from an ear hook. Or, what about a cherry bead keychain? The possibilities are quite broad once you understand the basic cherry bead construction.
You can also think about mixing cherry beads with other types of beads. Cherry blossom acrylic flower beads, for instance, are very elegant and beautiful. The texture is light, and it is very comfortable. Pairing these delicate flower beads with your plump cherry beads could create a really unique and lovely piece of jewelry, like a spring-themed set. It's all about trying out different combinations and seeing what you like best.
Caring for Your Beaded Jewelry
Once you have made your beautiful cherry beads bracelet, you will want to take good care of it so it lasts a long time. Beaded jewelry, especially those made with elastic, can be a bit delicate. It's a good idea to take your bracelet off before you do things like shower, swim, or wash dishes. Water and chemicals can sometimes weaken the string or dull the shine of the beads, you know?
When you are not wearing your cherry beads bracelet, store it in a safe place where it won't get tangled with other jewelry or get squashed. A small jewelry box or a soft pouch works well. This helps protect the beads from scratches and keeps the string from getting stretched out. Just treat it gently, and it should stay looking nice for quite a while.
If your bracelet gets a bit dirty, you can usually clean it gently with a soft, damp cloth. Avoid harsh cleaners or scrubbing too hard, as this could damage the beads or the string. A little bit of gentle care goes a long way in keeping your handmade cherry beads bracelet looking as lovely as the day you made it. It's just like taking care of anything else you value, really.
Frequently Asked Questions About Cherry Bead Bracelets
People often have questions when they start making cherry beads bracelets. Here are some common ones that come up, just in case you were wondering about them too.
How do I make the cherry beads look like real cherries?
To make your cherry beads look more like actual cherries, try using two red beads for each cherry. You can then add a smaller green bead right next to them to represent the leaf. Some people also use a tiny black bead in between the two red ones to give the impression of a stem. Using beads with a nice, glossy finish also helps them look plump and juicy, which is pretty effective.
What kind of string is best for a beginner?
For someone just starting out, elastic string is often the easiest and most forgiving choice for a cherry beads bracelet. It's simple to work with because you don't need a clasp, and the finished bracelet can be stretched to fit over your hand. It's very user-friendly, and you can find it at most craft stores, so it's quite accessible.
Can I use different colors for the "cherries"?
Absolutely! While traditional cherry beads bracelets use red for the cherries, you can totally use any color you like. Maybe pink for cherry blossoms, or even blue for a whimsical look. The idea is to have fun and make something that expresses your own style. There are no strict rules when it comes to being creative, so feel free to experiment with colors that make you happy.
Your Own Creative Touch
Making a cherry beads bracelet is more than just stringing beads; it's about putting your own creative touch into something beautiful. Whether you follow a specific tutorial or come up with your own design, the joy is in the making. It's a project that is simple enough for anyone to try, but also offers endless possibilities for personalization.
So, gather your supplies, pick out some cheerful beads, and get ready to create something wonderful. You might be surprised at how much fun you have and how proud you feel of your finished cherry beads bracelet. It's a small piece of art that carries a lot of charm and a bit of your own story. You can learn more about beading projects on our site, and if you are looking for other craft ideas, you can also check out this page for more inspiration. Happy crafting!
- Lonnie Grover Dallas
- Cloud Smoke Shop Nutley
- 2022 Time Dealer Of The Year Bob Giles
- Global Views Furniture
- The Battersea Barge

Cherries Go Savory, Sweet and Boozy - The New York Times

How to grow and care for cherry trees | Love The Garden
Cherry wallpaper | 2560x1600 | #78520
